FATE HAS CHOSEN YOU
A sci-fi trading card game where you command a galactic faction and conquer the stars across three Battles.
Choose how you want to learn the game.
01 How You Win
A game is three Battles — and each Battle is fought in two SkirmishesSkirmish — a round of placing and revealing units. Skirmish 1 (Forward) uses Locations 1–4; Skirmish 2 (Rear) uses Locations 5–7.. Bank Conquest Points every Battle:
02 What You Need to Get Started
A deck, someone to play against, and a way to keep score — that’s all it takes.
A Deck
40–80 cards, face-down as your Supply Deck. Your units — each with a Conquest Value and often an ability — all live here. Build your own or grab a starter deck.
An Opponent
Standard game is 1-on-1 (more is supported). Everyone starts at 0 CQ.
A Way to Keep Score
Track each player’s total Conquest. Pen & paper, dice, or counters all work fine.
03 Reading a Card
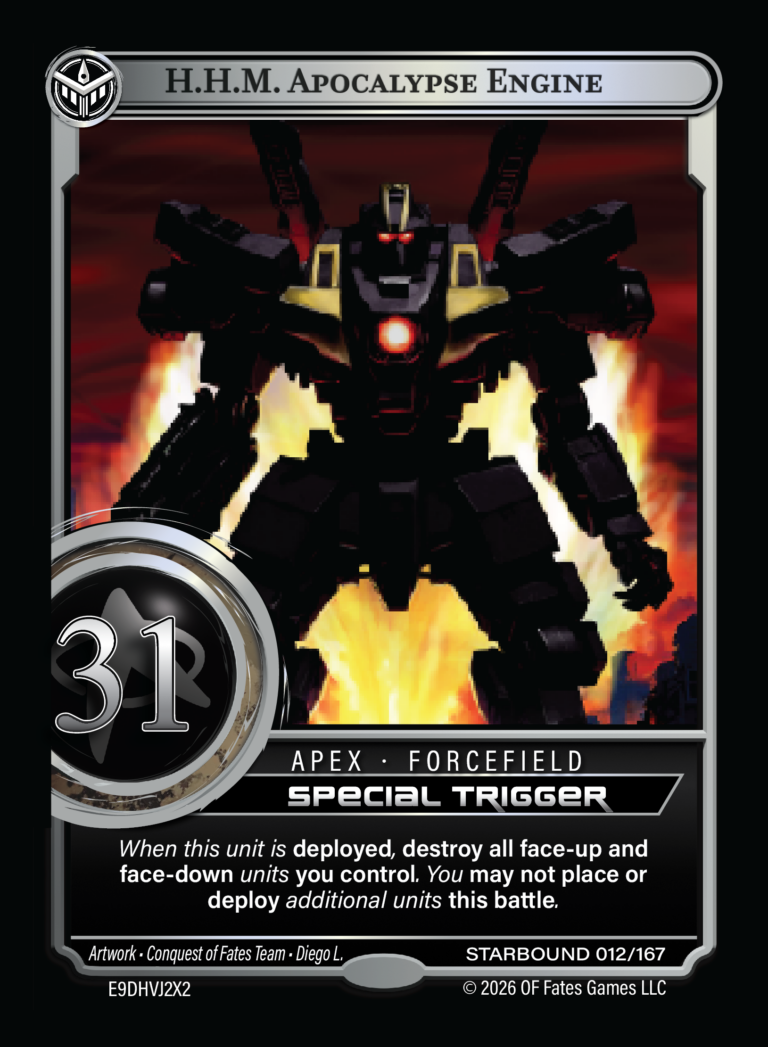
Every card lays out the same parts. Here’s what each one means — hover or tap an item to spotlight it on the card.
 1
2
3
4
5
6
7
1
2
3
4
5
6
7
- Faction — the galactic power the card belongs to, shown by the emblem in the top-left corner.
- Card Name — the card’s title, along the top banner.
- Conquest Value (CQ) — how much Conquest this unit is worth: the big number that decides who wins.
- Attributes & Implicits — built-in traits the card always has. Here: APEXApex — a powerful unit; only one copy per card name (a deck may run several different-named Apex units). and FORCEFIELDForcefield — while face-up, this unit can’t be Destroyed, Muted, or Plagued..
- Ability Trigger — when the ability happens: Upon DeploymentUpon Deployment — a one-time effect that fires when the unit is deployed (revealed face-up)., Throughout the BattleThroughout the Battle — an ongoing effect that keeps working after the unit deploys., or a Special TriggerSpecial Trigger — an ability with its own timing, spelled out in the card text..
- Special Ability — what the card does when its trigger fires.
- Card & Set Info — artist credit, set name, and the card’s number in the set.
Golden rule: if a card’s text ever contradicts these general rules, the card wins. The rules are a framework; individual cards bend them.
04 The Play Mat
Your play area is the Battle Zone: seven numbered Locations, the Celestial Zone, and the Extra Locations. Your Deck, Discard, and the Void sit just outside it.
Hover or tap any zone to highlight it.
Zone Celestial Zone — Celestials are placed here directly and remain here across all three Battles.
Locations Extra Locations — hold units placed here by special abilities, including Lightspeed deploys from your hand. They still score CQ.
Deck Supply Deck — your deck, face-down. You draw 7 from it each Supply Drop. Outside the Battle Zone.
Pile Discard Pile — cards Destroyed, Discarded, Depleted, or cleaned up at end of Battle, face-up. Outside the Battle Zone.
Locations are shared. “Location 1” is the same spot for both players — you’re fighting over the same ground. Only cards in the Battle Zone (Locations 1–7, Extra, Celestial) score CQ.
05 How a Battle Works
Every Battle follows the same loop. Learn one Battle and you know the whole game.
Supply Drop
Everyone draws 7 cards. Look your hand over and plan your Forward Skirmish — you’ll place cards in any order across up to the first four Locations (1–4).
First Battle only: you may mulliganMulligan — a one-time redo of your opening hand: shuffle it back into your deck and draw 7 new cards. once — shuffle back and redraw 7.
Forward Skirmish — place face-down
Place your chosen units face-down into Locations 1–4 — at most one per Location. Your opponent does the same at the same time, hidden from you. This is the first wave.
Reveal — take turns, Location by Location
Both boards face each other. Flip cards face-up one Location at a time, back and forth: you reveal Location 1 and its ability resolves, then your opponent reveals their Location 1 — then Location 2, then 3, then 4. A unit deploysDeploy · Upon Deployment — a unit deploys the instant it flips face-up; abilities that read Upon Deployment fire once at that moment. the moment it flips face-up.
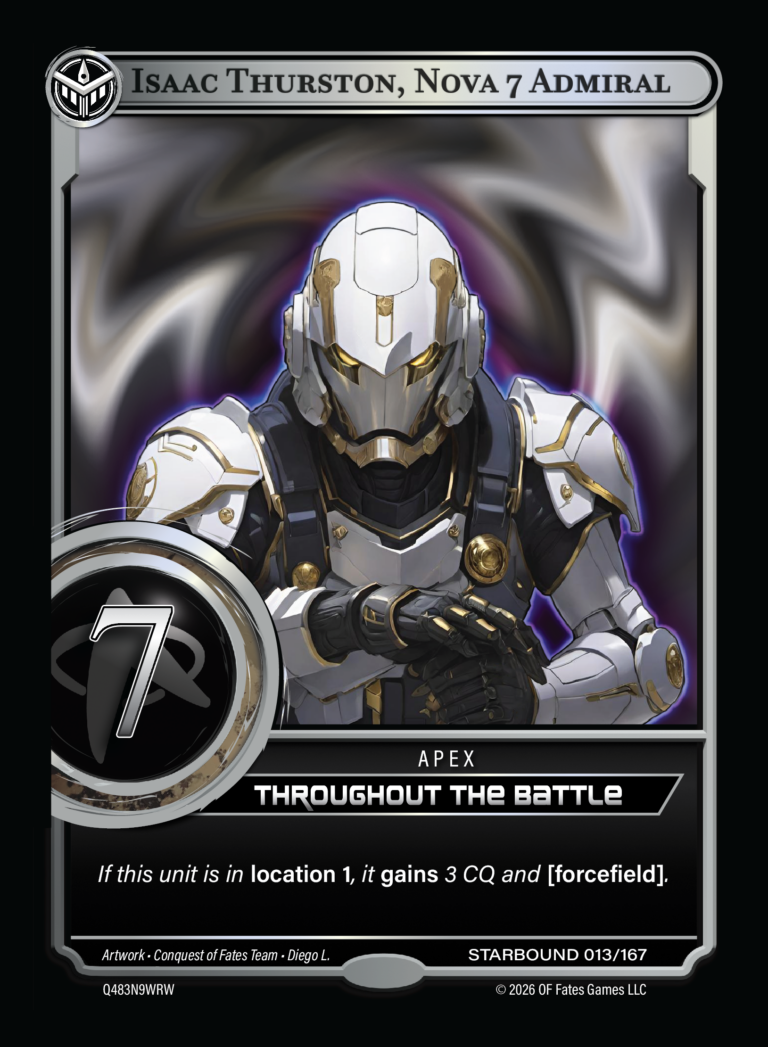
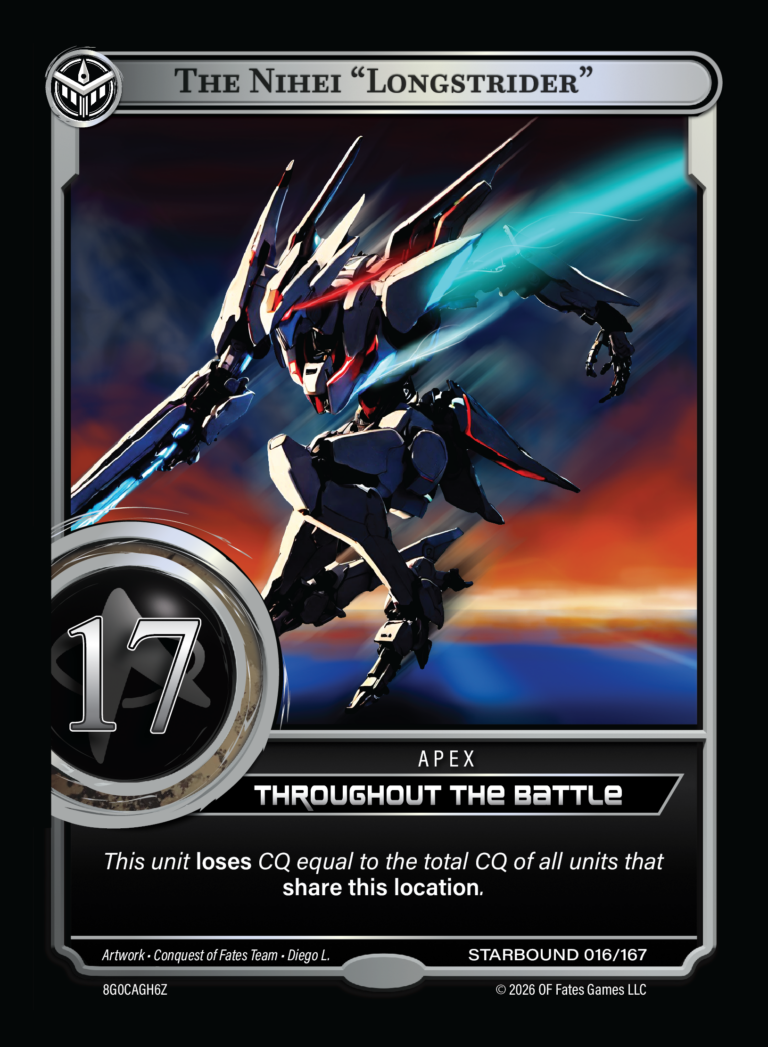
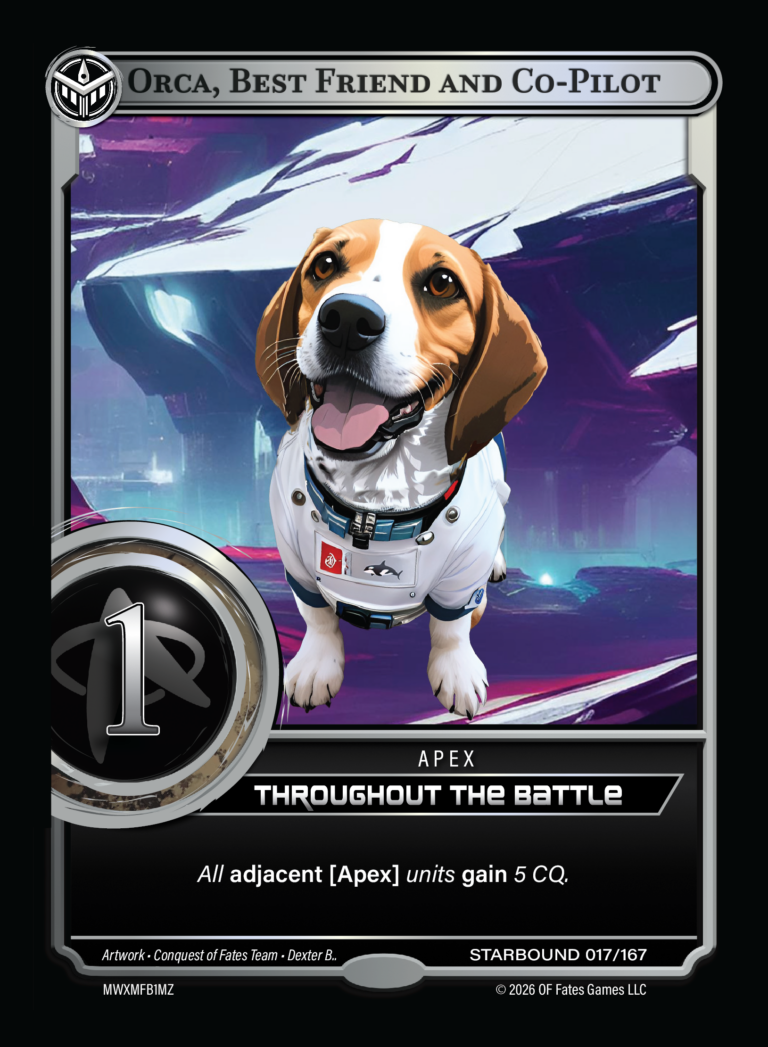
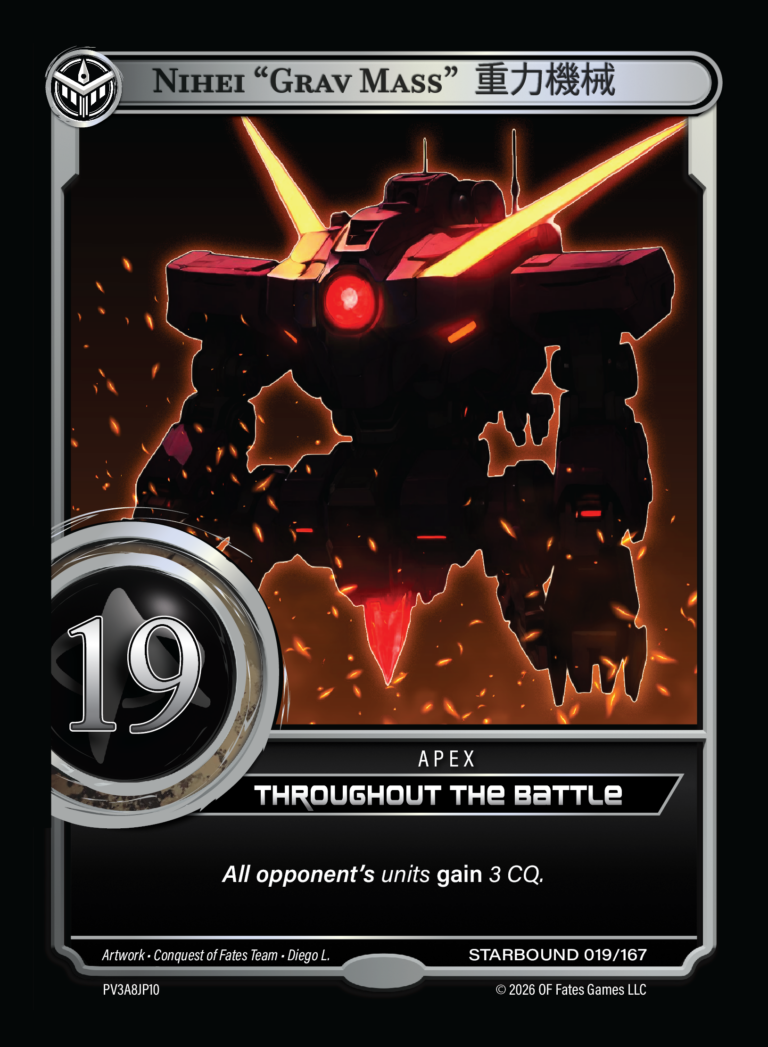
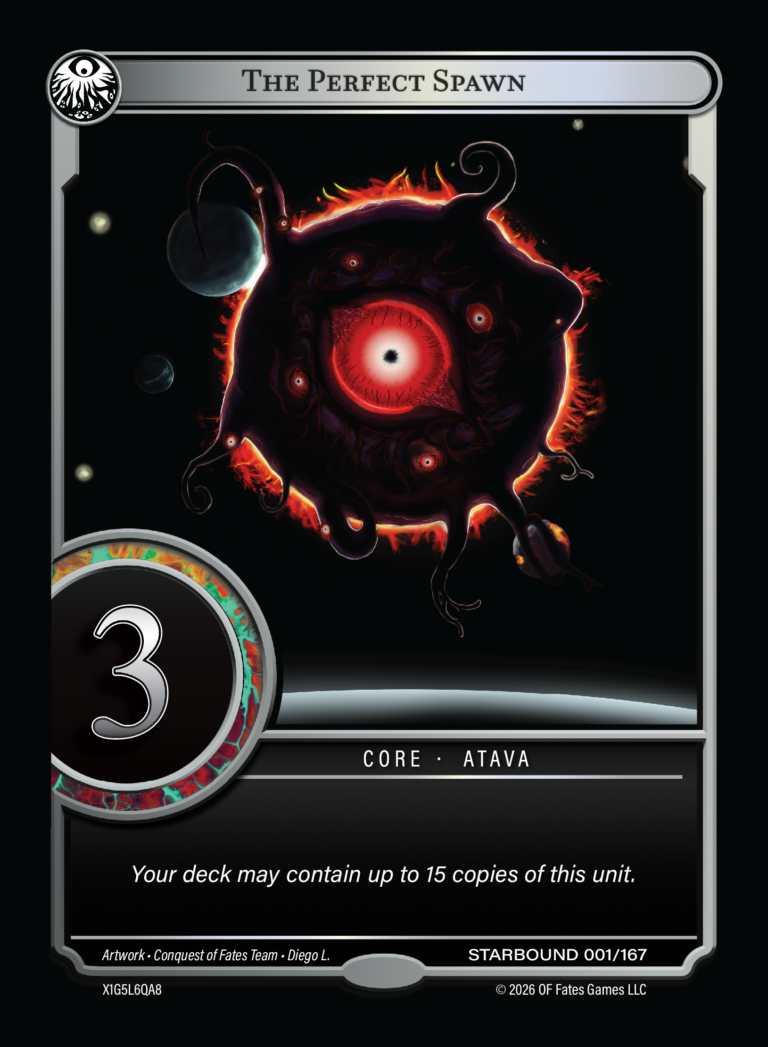
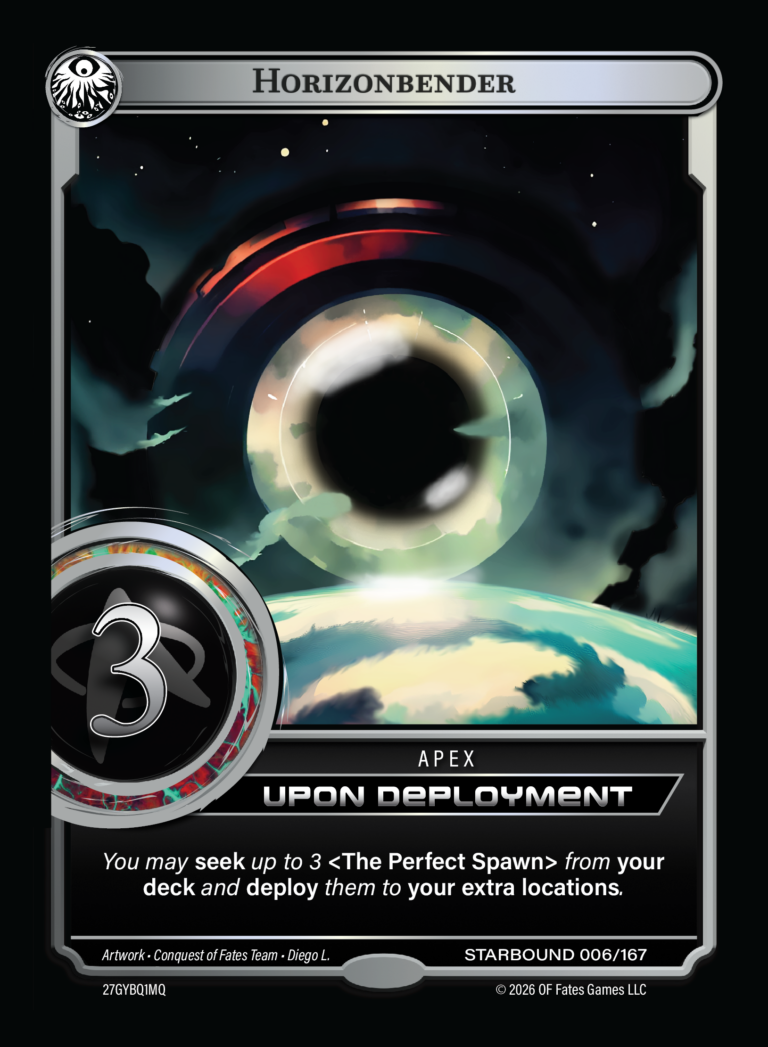
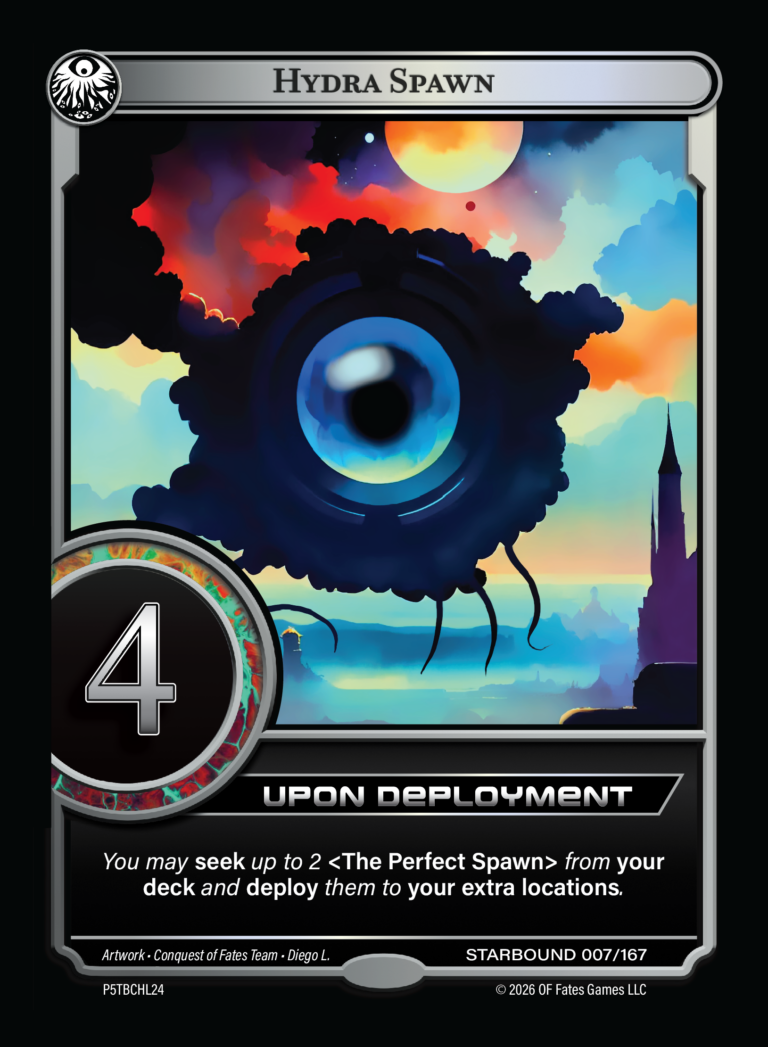
Rear Skirmish — Locations 5–7
The second wave — no new draw. Your Forward units are now face-up and stay on the board. Using the cards still in hand, place face-down into Locations 5–7, then reveal them the same turn-based way.
Tally
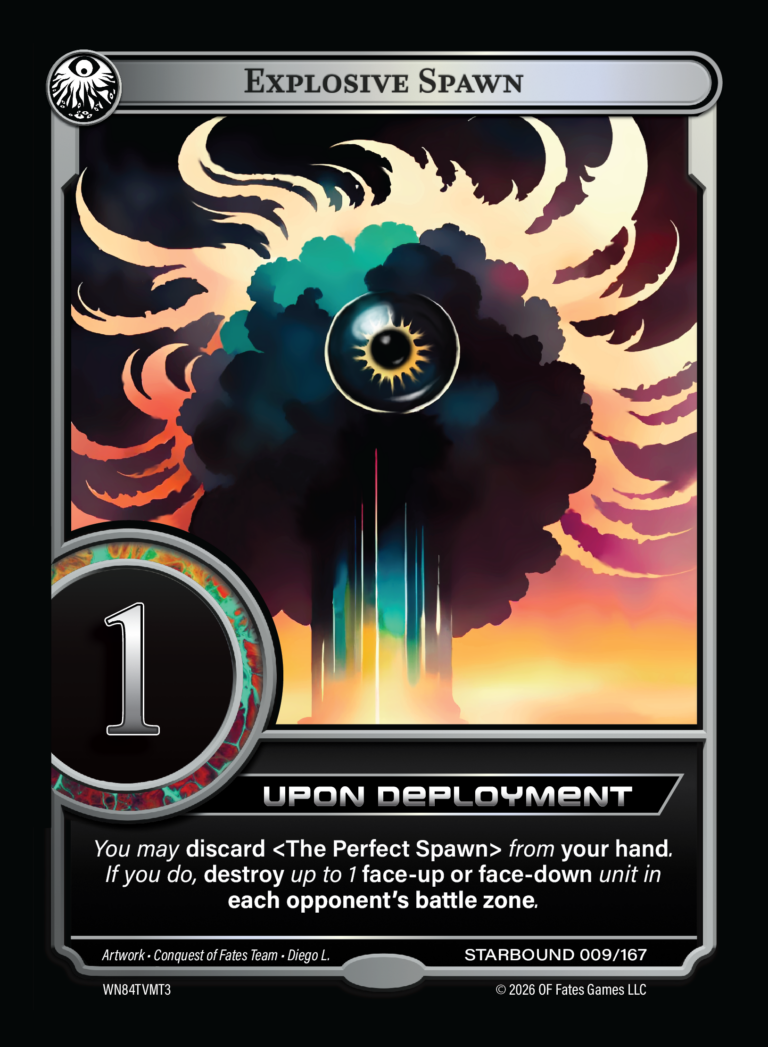
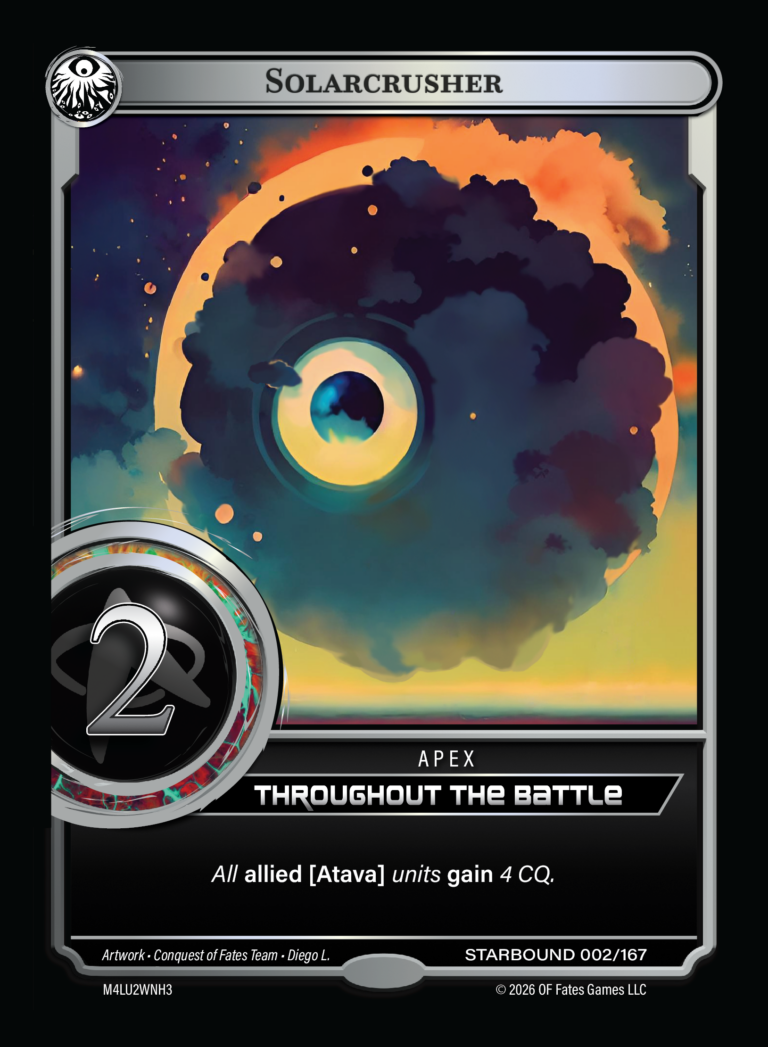
Add up the CQ of all your face-up units across the whole battle zone (Locations 1–7 and Extra) into your Conquest Pool.
Clean Up
Units go to the discard. Your CelestialCelestial — an optional, powerful cosmic card deployed to the Celestial Zone. Once out, it stays in play across all three Battles. stays, your hand carries over, and the first-player seat passes. Next Battle begins.
Who goes first? Decide it any way you like for Battle 1 (dice, coin, rock-paper-scissors). After that it flips each Battle — the player who went first now goes second. The seat only changes between Battles, never in the middle of one.
06 The Full Game
Everything above is one Battle. A full game runs that same loop three times — and the two things that travel between Battles are what turn it into a game.
carry over
carry over
Your hand carries over. Whatever is still in your hand when a Battle ends stays with you for the next one — Battle 1 into Battle 2, Battle 2 into Battle 3. You do not start fresh, so holding a card back is a real choice, and emptying your hand early can leave you thin later.
07 Good to Know
A few small rules that come up in normal play.
✋ Maximum Hand Size
Your hand holds at most 10 cards. If an effect takes you above 10, you must immediately discard down to 10 before taking any other action. (Draw to 11? Discard one first.)
🃏 Running Out of Cards
Emptying your deck does not lose you the game. Any action that would make you draw or use your deck simply doesn’t happen — you keep playing with what you have.
🧮 Scoring Note
CQ can go negative, and some effects add CQ to you directly — not only through units on the board.
08 Keep Going
FATE HAS CHOSEN YOU. NOW GO CLAIM THE GALAXY.