
Quick Start Guide
FATE HAS CHOSEN YOU
A sci-fi trading card game where you command a galactic faction and conquer the stars across three Battles.
Choose how you want to learn the game.
The Goal
It all comes down to Conquest Points.
A game is three Battles. Each Battle is fought in two waves — a Forward Skirmish, then a Rear Skirmish — and earns you Conquest Points (CQ). After Battle 3, the most total CQ wins.
The Basics
What you need to get started
A deck, someone to play against, and a way to keep score — that's all it takes.
Your Deck
40–80 cards. Sits face-down as your Supply Deck.
An Opponent
One or more players to battle against. You all start at 0 Conquest.
A Way to Keep Score
Pen & paper, dice, or an app — to track your total Conquest and each unit's CQ value.
Card Anatomy
How to read a card
Every card shows the same things. Scroll to see what each part means.
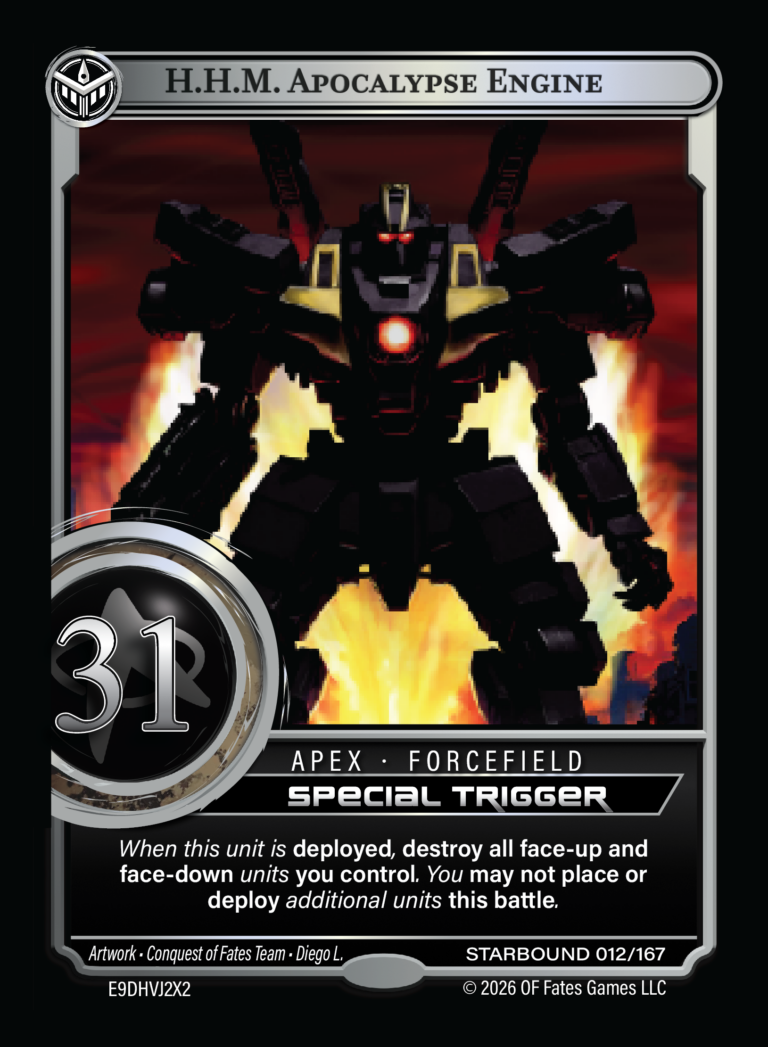
Meet a card
Here's a full Unit card. Every card lays out the same parts — scroll on to see what each one means. ↓
Faction
Which galactic power the card belongs to — shown by the emblem in the top-left corner.
Card Name
The card's title, along the top banner.
Conquest Value (CQ)
How much Conquest this unit is worth — the big number that decides who wins.
Attributes & Implicits
Built-in traits the card always has — here it's APEXApex — a powerful unit; you may include only one of it per deck. and FORCEFIELDForcefield — while face-up, this unit can't be Destroyed, Muted, or Plagued..
Ability Trigger
When the ability happens — Upon DeploymentUpon Deployment — a one-time effect that fires when the unit is deployed (revealed face-up)., Throughout the BattleThroughout the Battle — an ongoing effect that keeps working after the unit is deployed., or (here) a Special TriggerSpecial Trigger — an ability with its own timing, spelled out in the card text; it resolves before normal triggers..
Special Ability
What the card does when its trigger fires.
Card & Set Info
Artist credit, set name, and the card's number in the set.
The Play Mat
Your whole play area, at a glance
Before we dive into how to play, let's get familiar with the play area.
💡 Hover over or tap any zone for more details.
Locations Extra Locations hold units placed by special plays — e.g. a Lightspeed response, or an ability that deploys a unit here. Full rules →
The Battle Zone
Your play area is Locations 1–7, the Extra Locations, and the Celestial Zone. Everything in a Battle happens here.
Forward Skirmish · 1–4
You fight here first, every Battle.
Rear Skirmish · 5–7
You fight here second.
Extra Locations
Hold units placed by special plays — like a Lightspeed response.
Celestial Zone
Holds your one Celestial. Once here it stays in play across all three Battles. It's part of the Battle Zone.
Outside the Battle Zone
Your Deck, Discard, the Void, and the cards in your Hand.
The Heart of the Game
⭐ Your first Battle, step by step
The whole game is just this, done three times. Watch how one Battle flows.
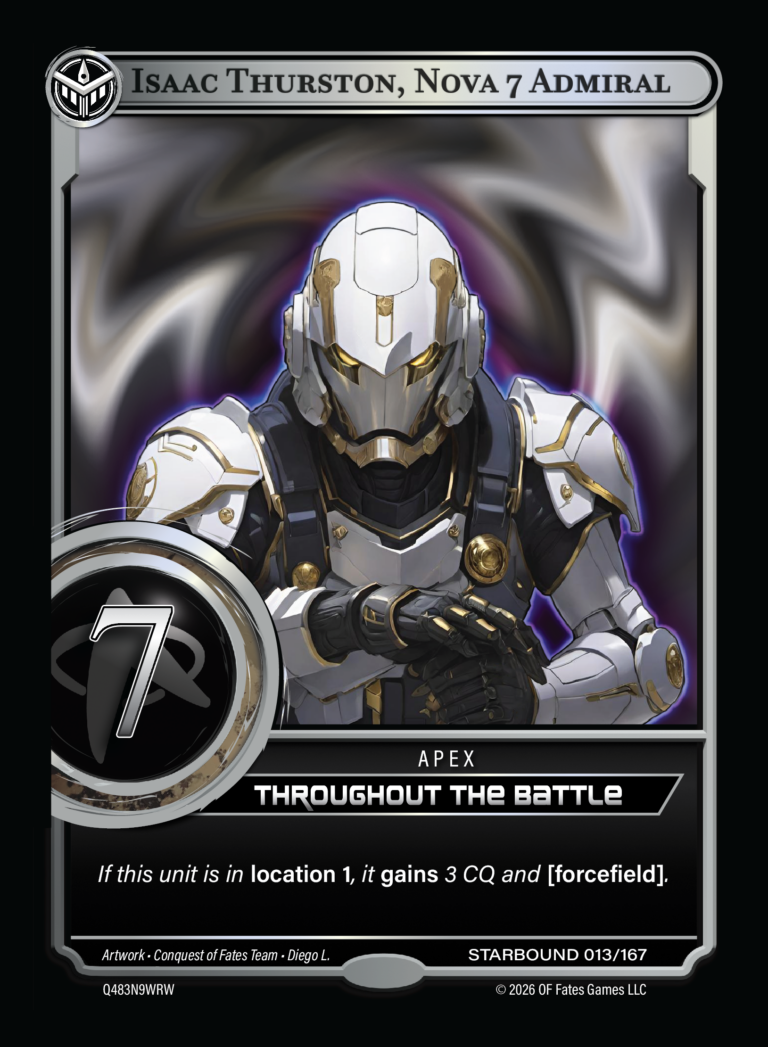 71
71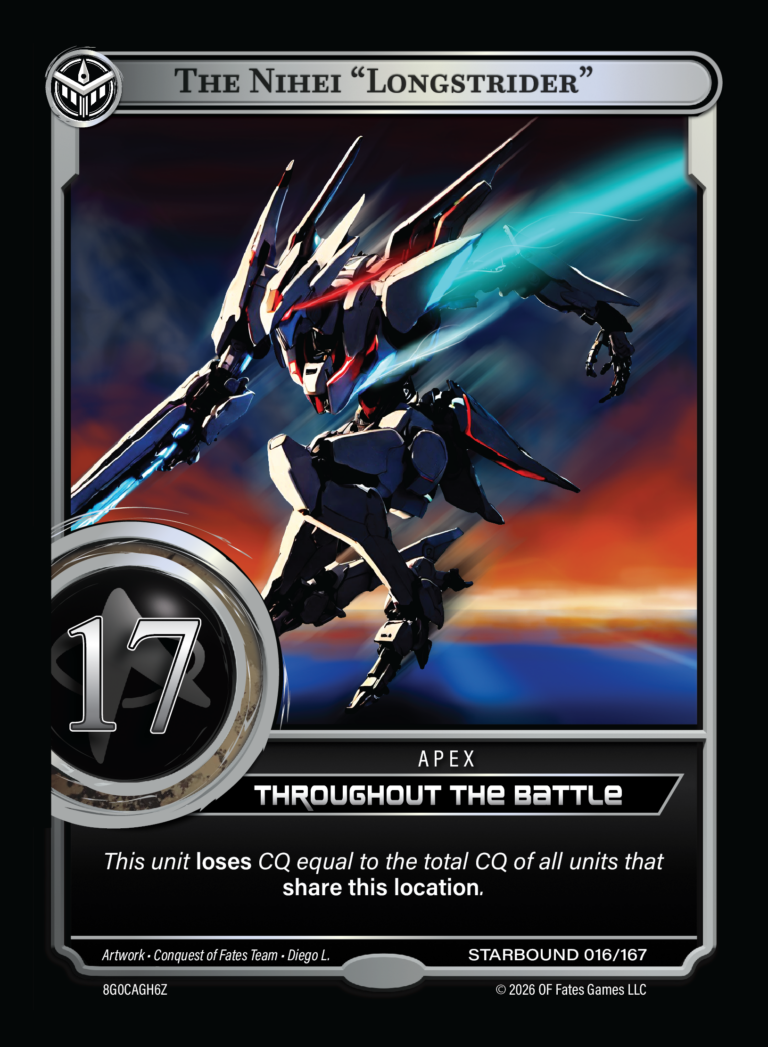 172
172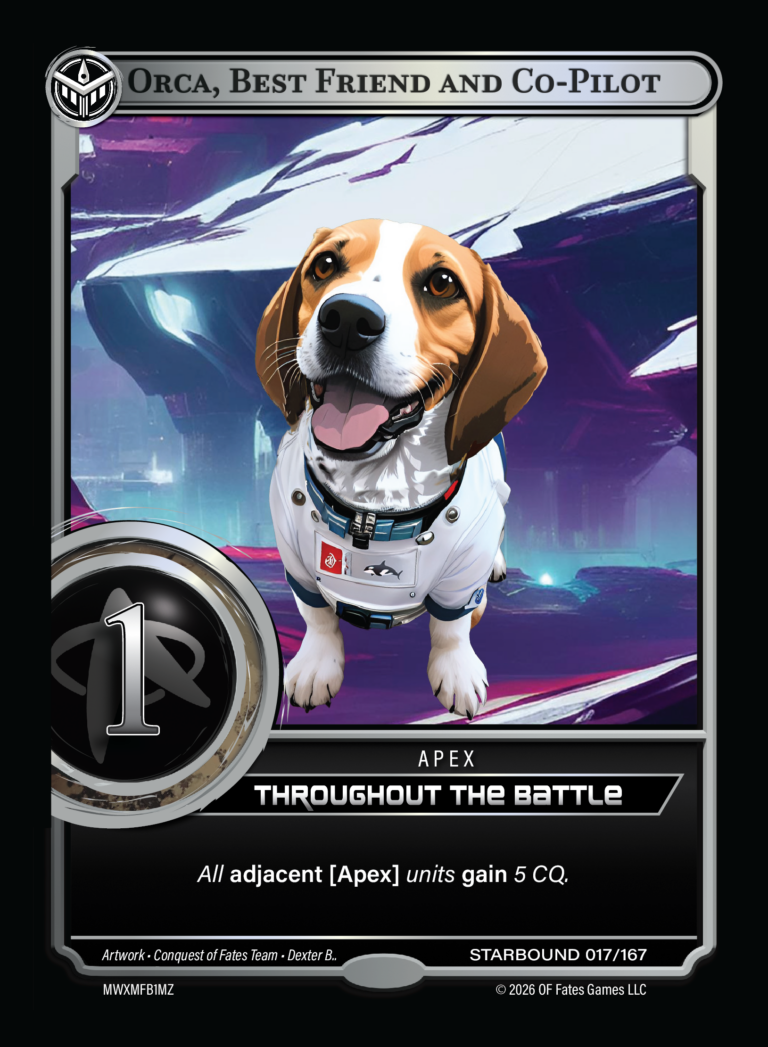 13
13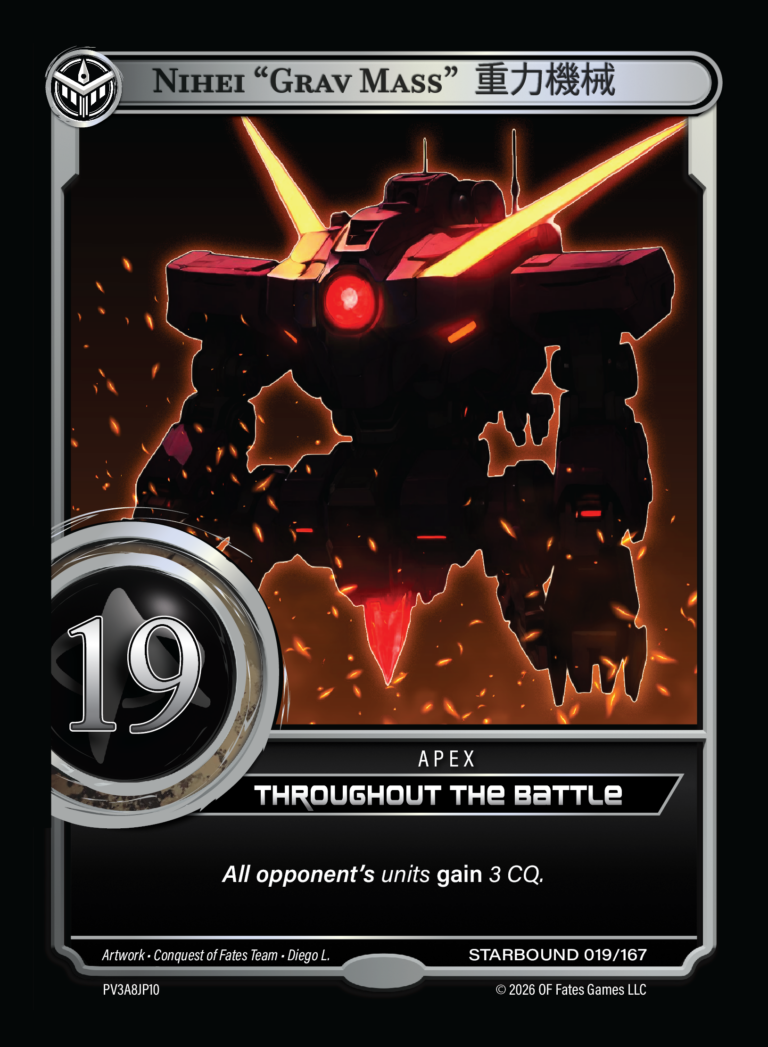 194
194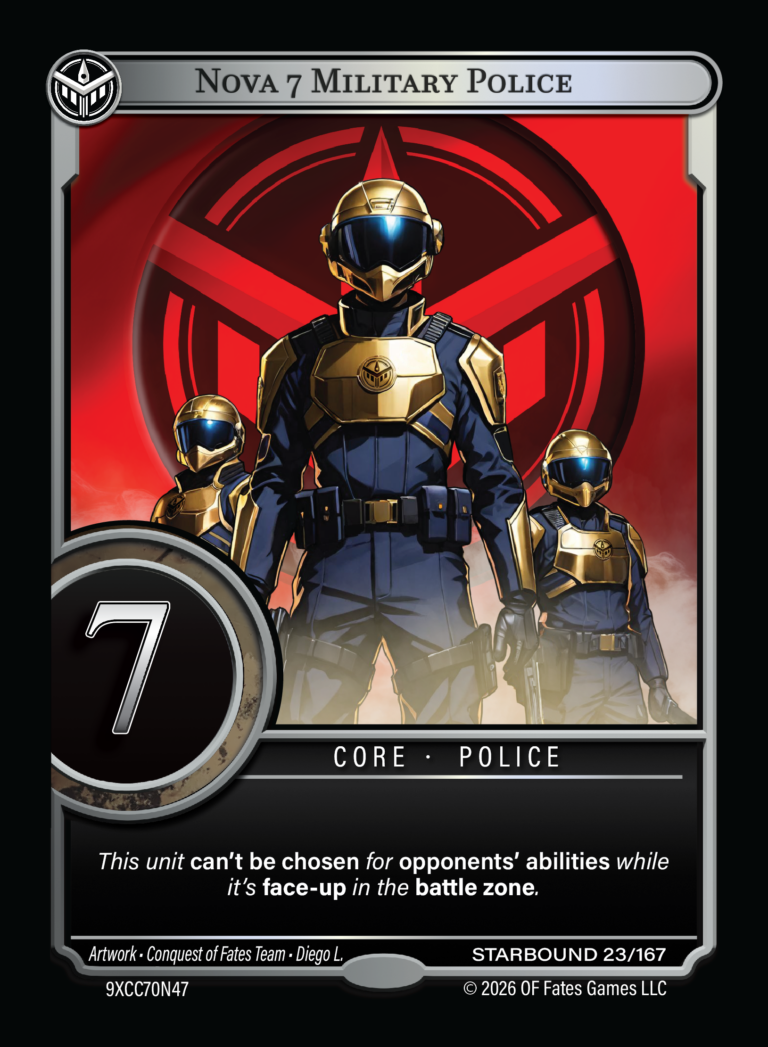 75
75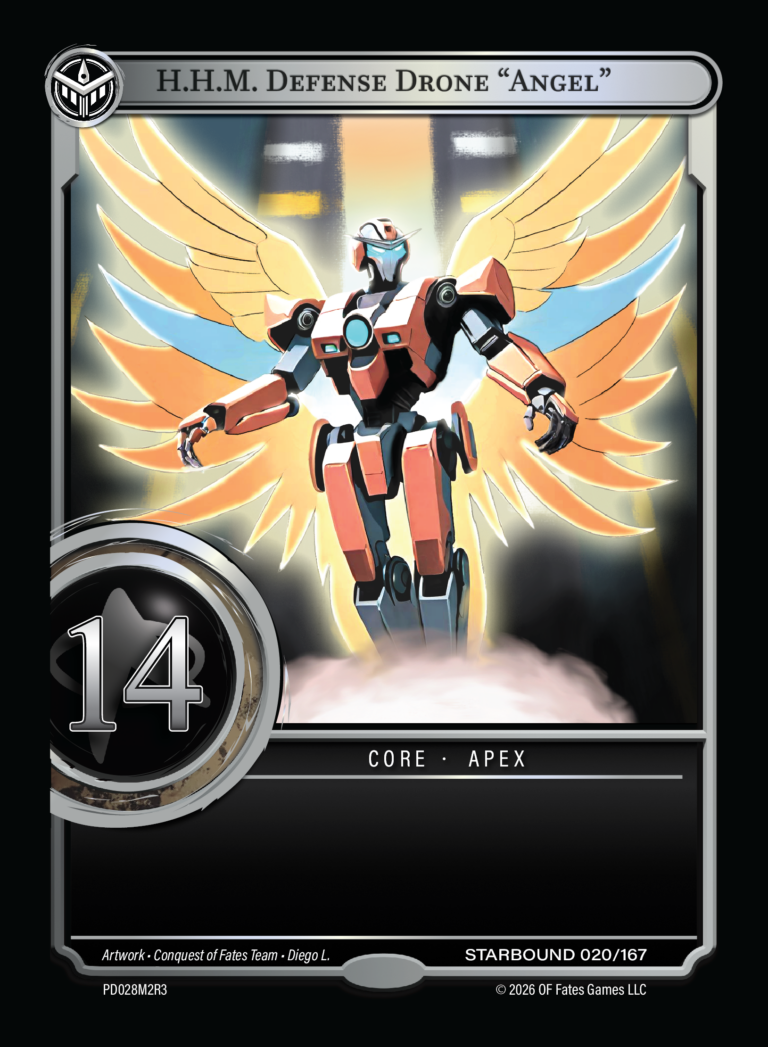 146
146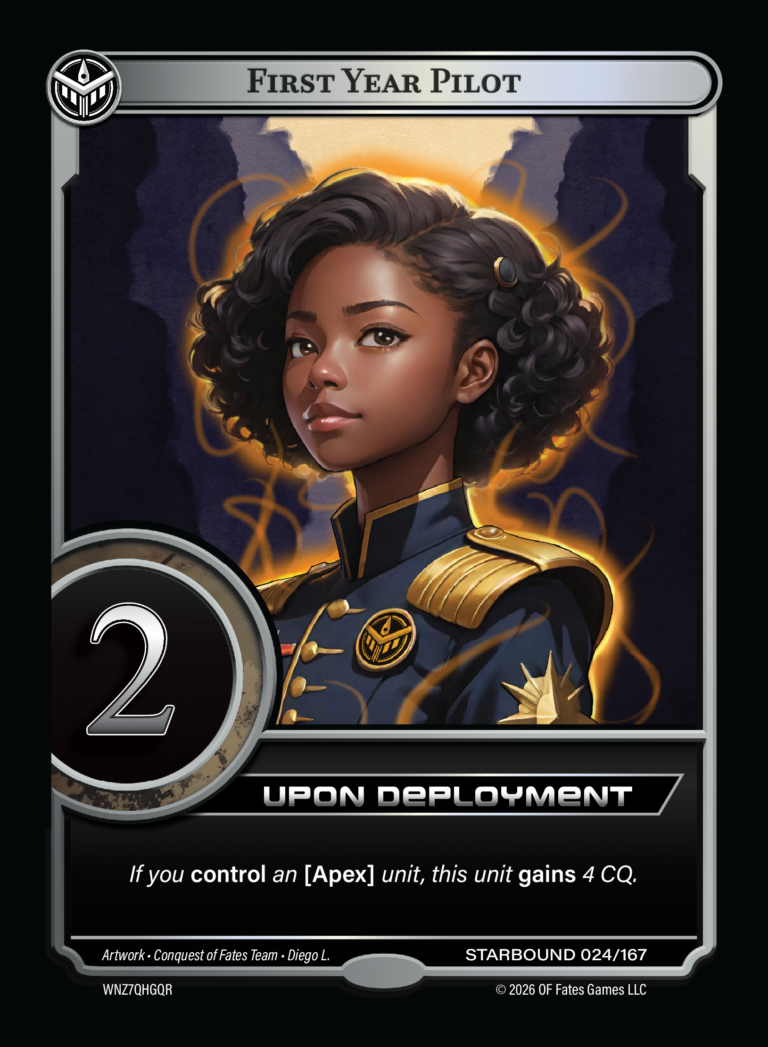 27Discard Pile
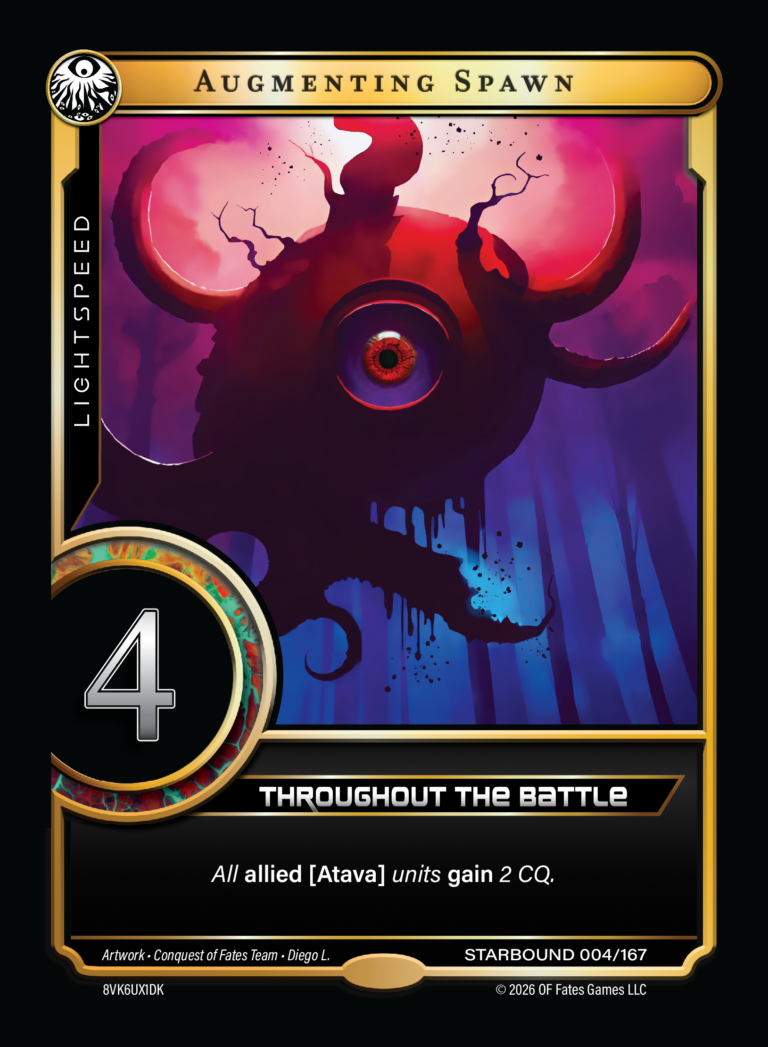 4
4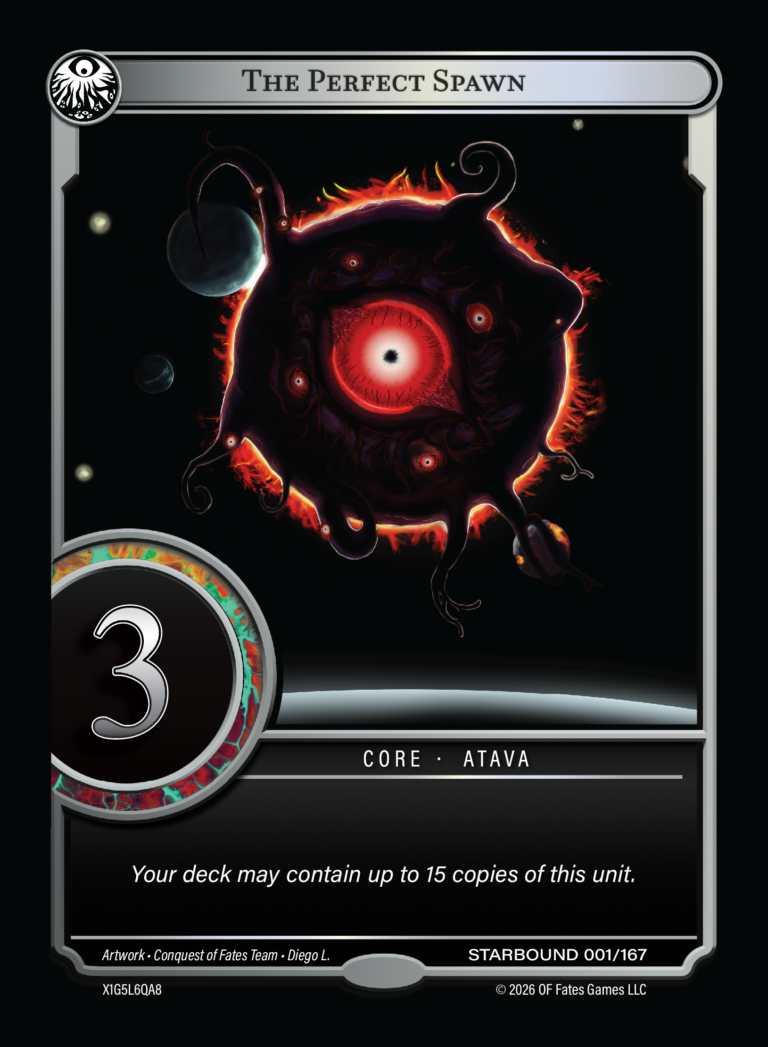 31
31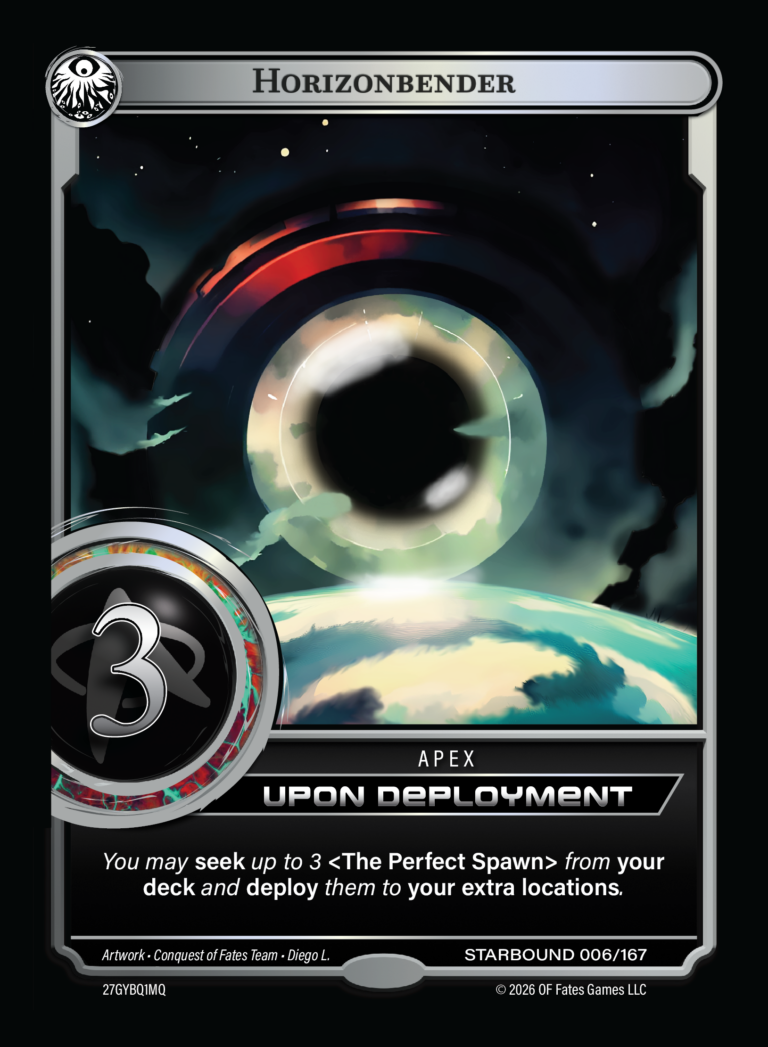 3233
3233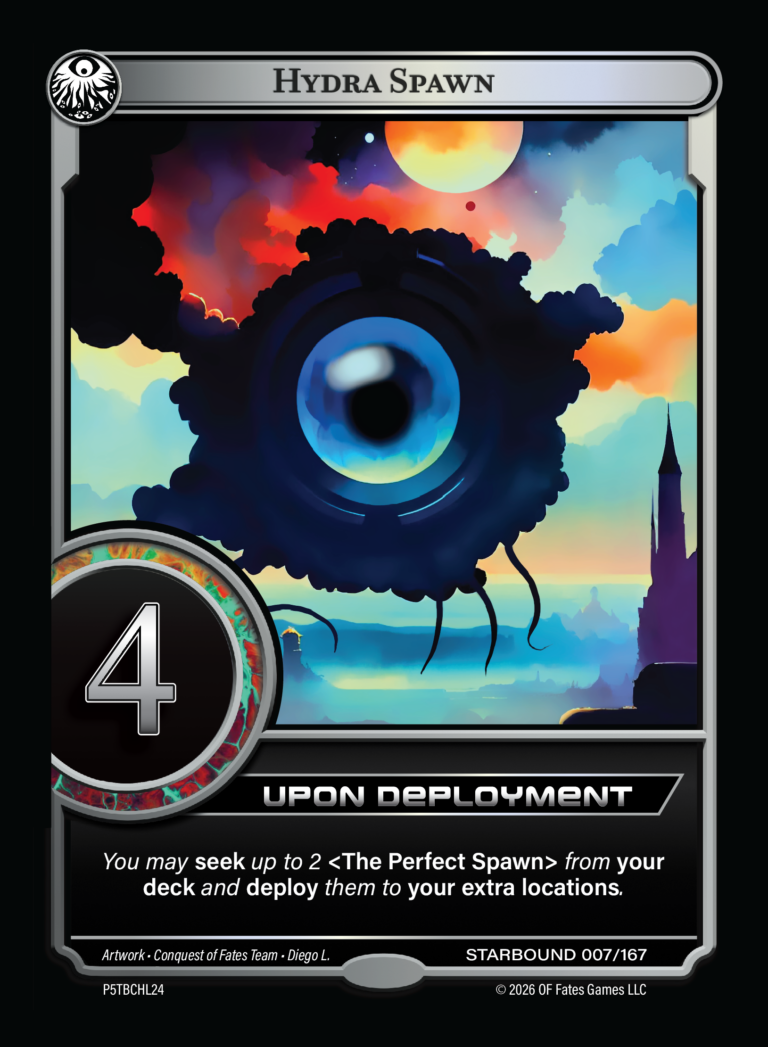 44
44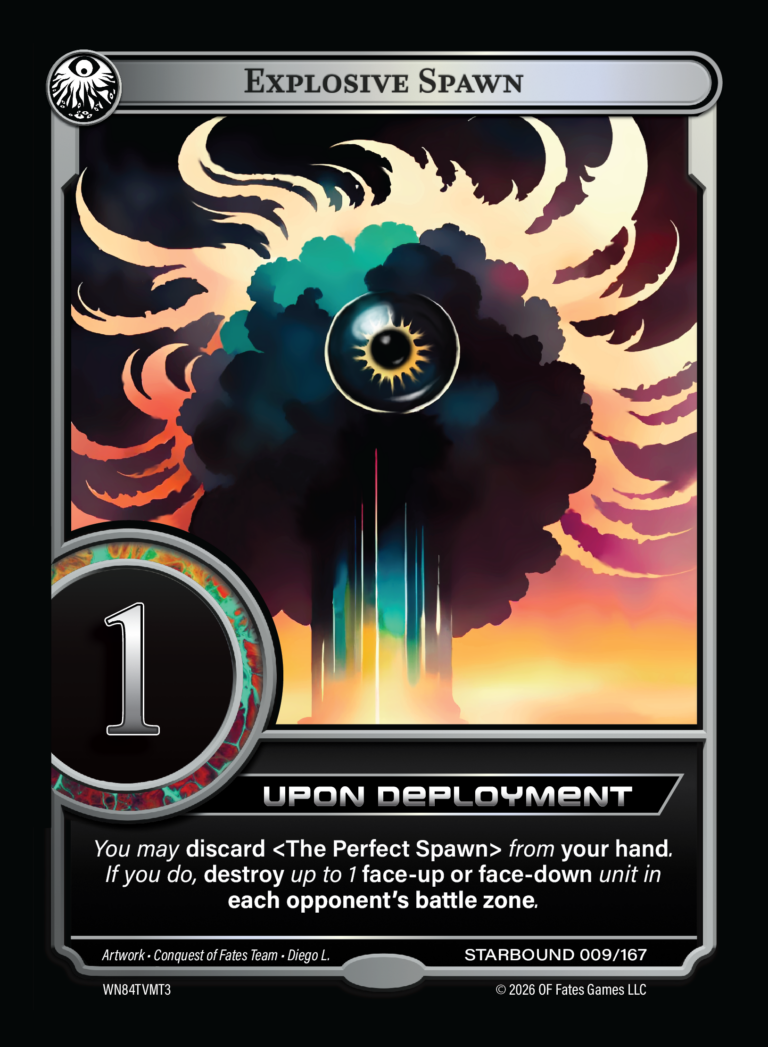 15
15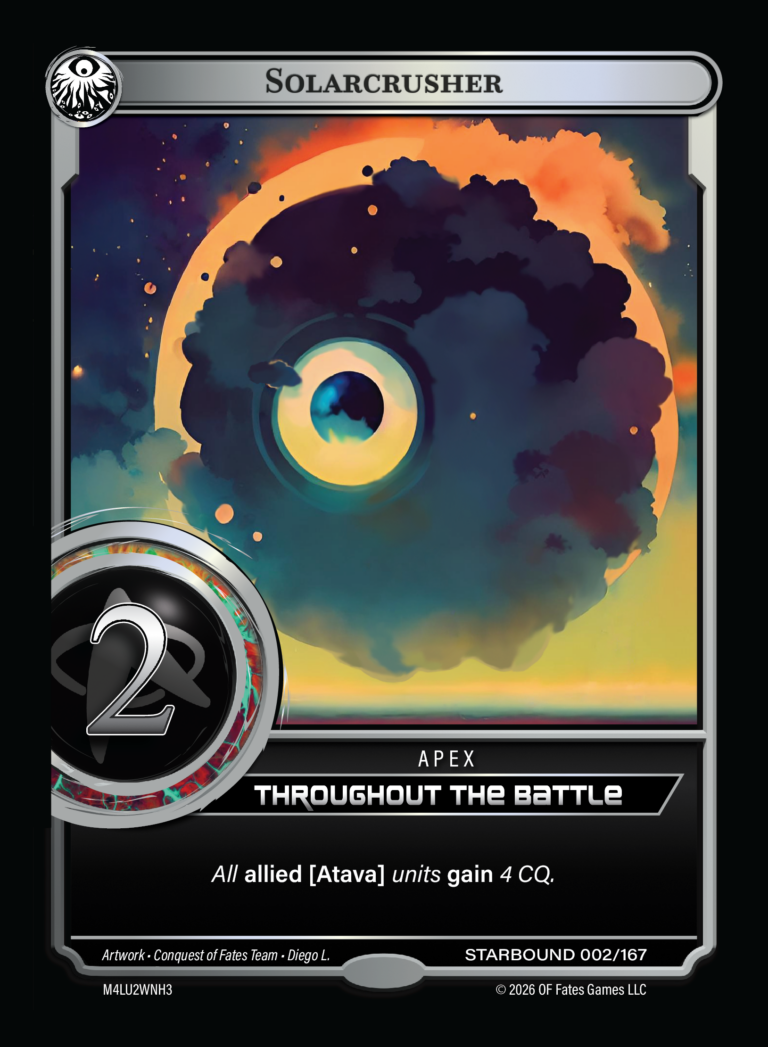 27Discard Pile
Supply Drop — draw 7
Both players draw a fresh hand of seven. (First Battle only: you may mulligan once.)
Plan & place — hidden, at the same time
Both of you place units face-down into Locations 1–4 at once — as many or as few as you like, up to one per Location, in any Locations (they needn't be in order or adjacent). Neither can see the other's cards yet. Confirm → locked in.
Location 1 — you reveal first
As the active player, you flip your Location 1 card face-up; it deploys and its abilities resolve.
Location 1 — your opponent answers
Then your opponent reveals their own Location 1 card and resolves it. After each action, either player may respond with LightspeedLightspeed lets you play a gold-bordered card from your hand as an instant response to any action an opponent takes — not only when they reveal a card. Full rules →.
Location 2 — reveal continues
Same back-and-forth at Location 2: you reveal, then your opponent reveals their own Location 2 card and resolves it.
⚡ Hold on — a Lightspeed response!
Your opponent revealing their Location 2 card is an action you can answer. You play a gold-bordered LightspeedLightspeed lets you play a gold-bordered card from your hand as an instant response to any action an opponent takes — not only a reveal. Full rules → unit from your hand and deploy it into your Extra Location. It resolves right away and stays in the Extra Location for the rest of the Battle. (Tap it to inspect.)
…then finish: 3 and 4
Back to the reveal — keep alternating through Locations 3 and 4 until the Forward Skirmish is done.
Rear Skirmish — place 5–7
No new draw. Place from the cards still in your hand. Your revealed forward units — and your Extra Location unit — stay in the battle zone.
Location 5 — same back-and-forth
Reveal alternates again: you, then your opponent — starting at Location 5. The same player reveals first as in the Forward Skirmish.
…through 6 and 7
Continue until every card in the Rear Skirmish is face-up.
Tally the CQ — both players
Each player adds up the CQ of all their face-up units across the whole battle zone — including the Extra Location. Here Player 2 scores 67 to your 20, so Player 2 wins this Battle — but it’s only the first of three, so the game is still wide open. Each player banks their own total into their Conquest Pool.
Clean Up → next Battle
Everything in the battle zone — units and your Extra Location card — goes to the discard; any leftover hand carries over. Then Battle 2 begins — and the player who went first now goes second.
Battle 1 Complete
On to Battle 2
Your Conquest is banked and the battle zone clears — but any cards still in your hand carry over into Battle 2. The next Battle begins (whoever went first now goes second), and the highest total CQ after all three Battles wins.
You're Ready
Build. Buy. Play.
Prefer to read? See the How to Play guide, or the full Advanced Rules · Rulebook (PDF). (Coming soon: an interactive tutorial / printable learn deck.)