
How to Use COF.gg
Build a deck, print it, share it — free, in your browser, no account needed.
Everything on cof.gg is free. Browse all 120 cards, build any deck, download a print-ready PDF — without an account. Decks save in your browser; signing in just syncs them across devices.
Red arrows in the screenshots below point at exactly what to click.
01 Open the Deck Builder
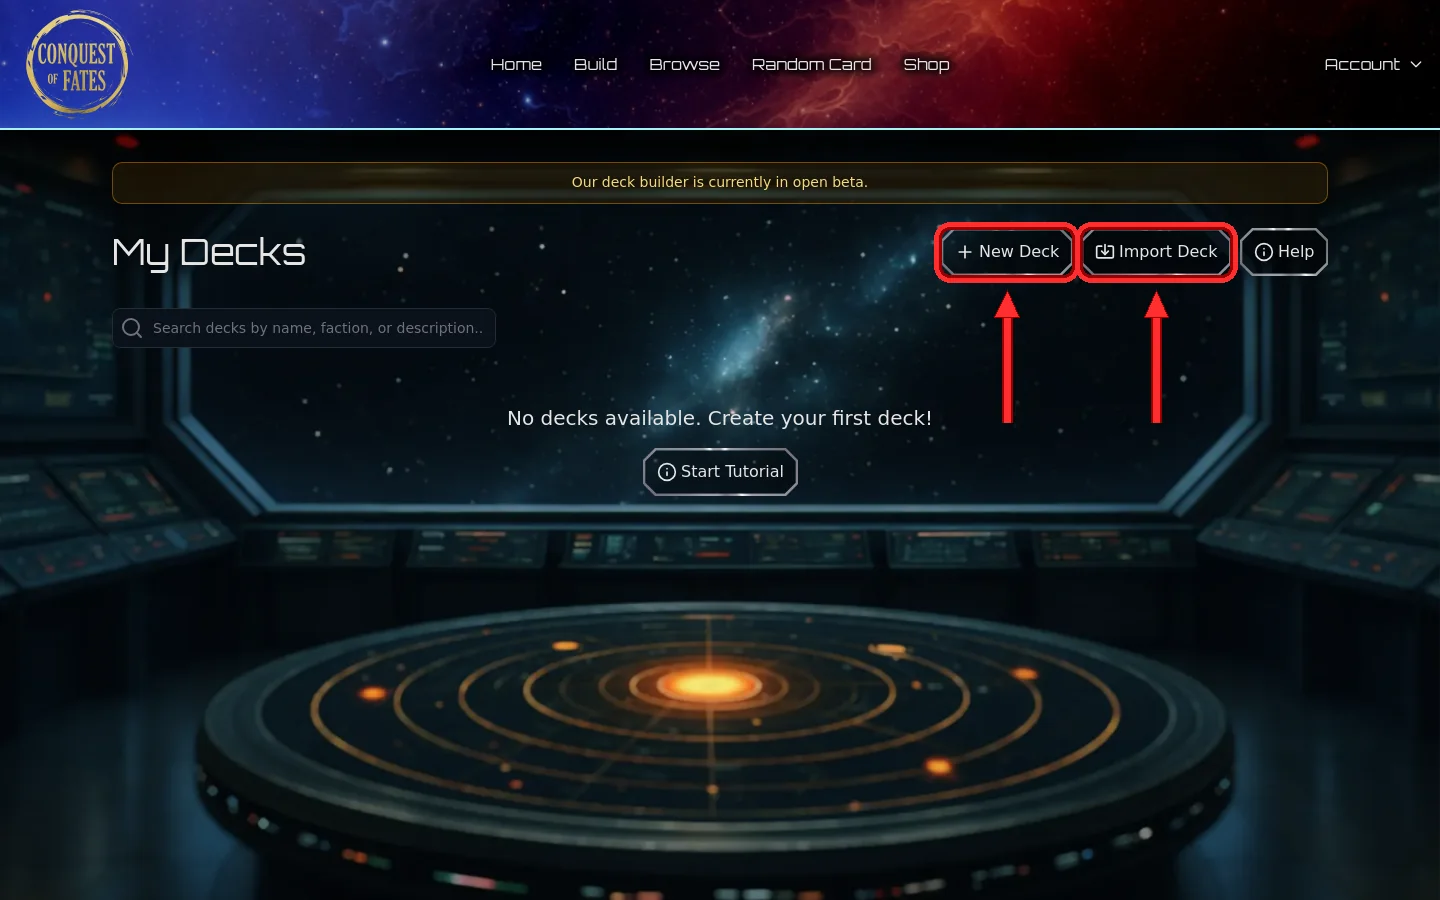
Go to cof.gg and click Build. That opens My Decks — your library.
02 Start From a Starter Deck
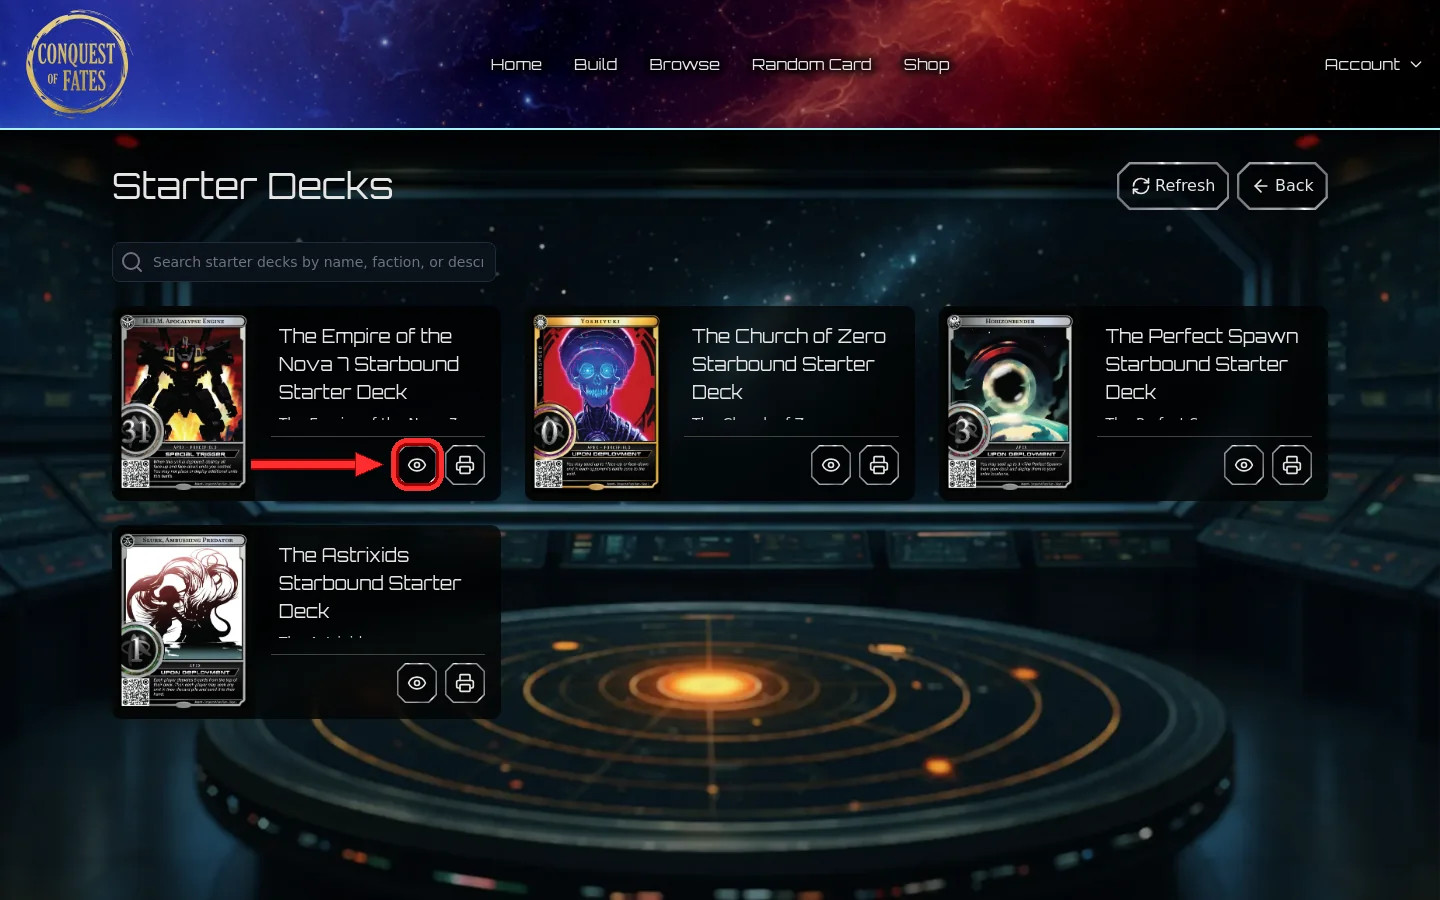
New here? Start with a complete, playable 40-card list — one per launch faction.
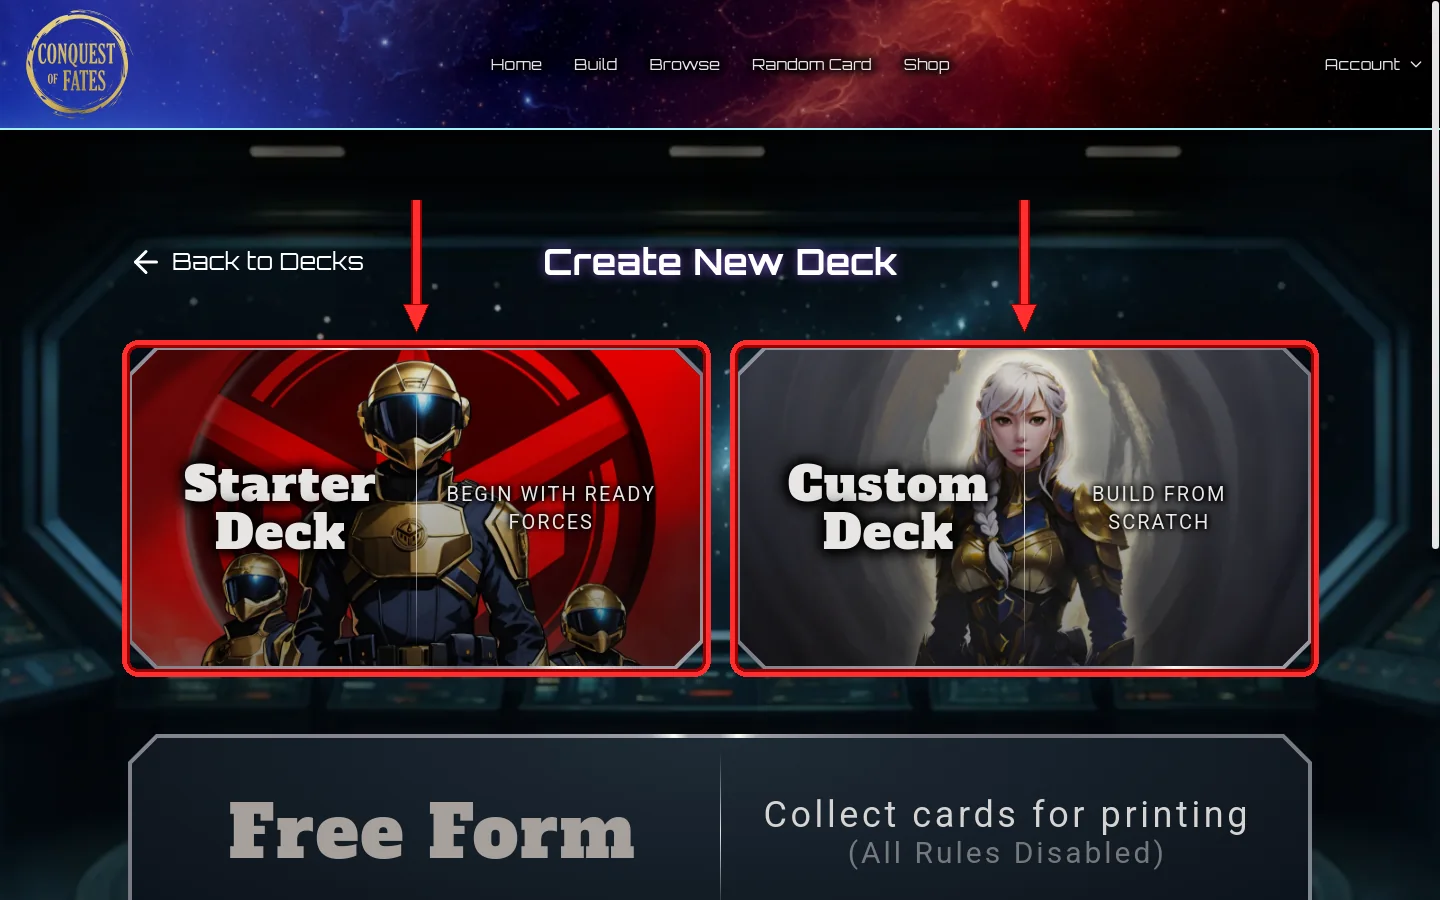
- Click New Deck, then Starter Deck.
- Click View on the one you want.
- Click Clone to Library to make it yours and editable.
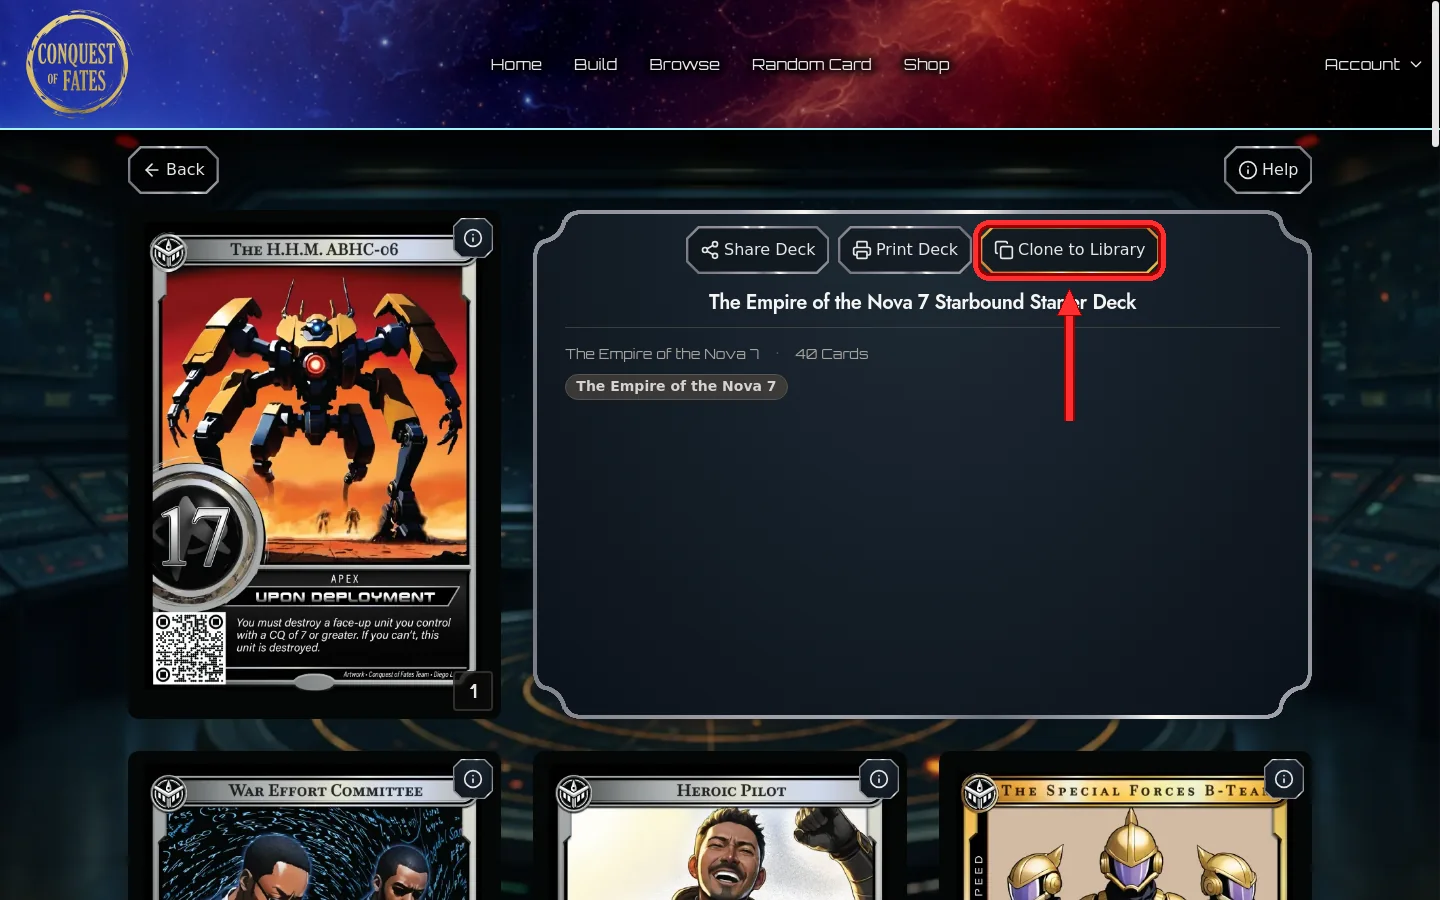
Cloning never changes the original. Clone again any time you want a clean copy — it is also the safe way to try a big change to your own deck.
03 Build a Custom Deck
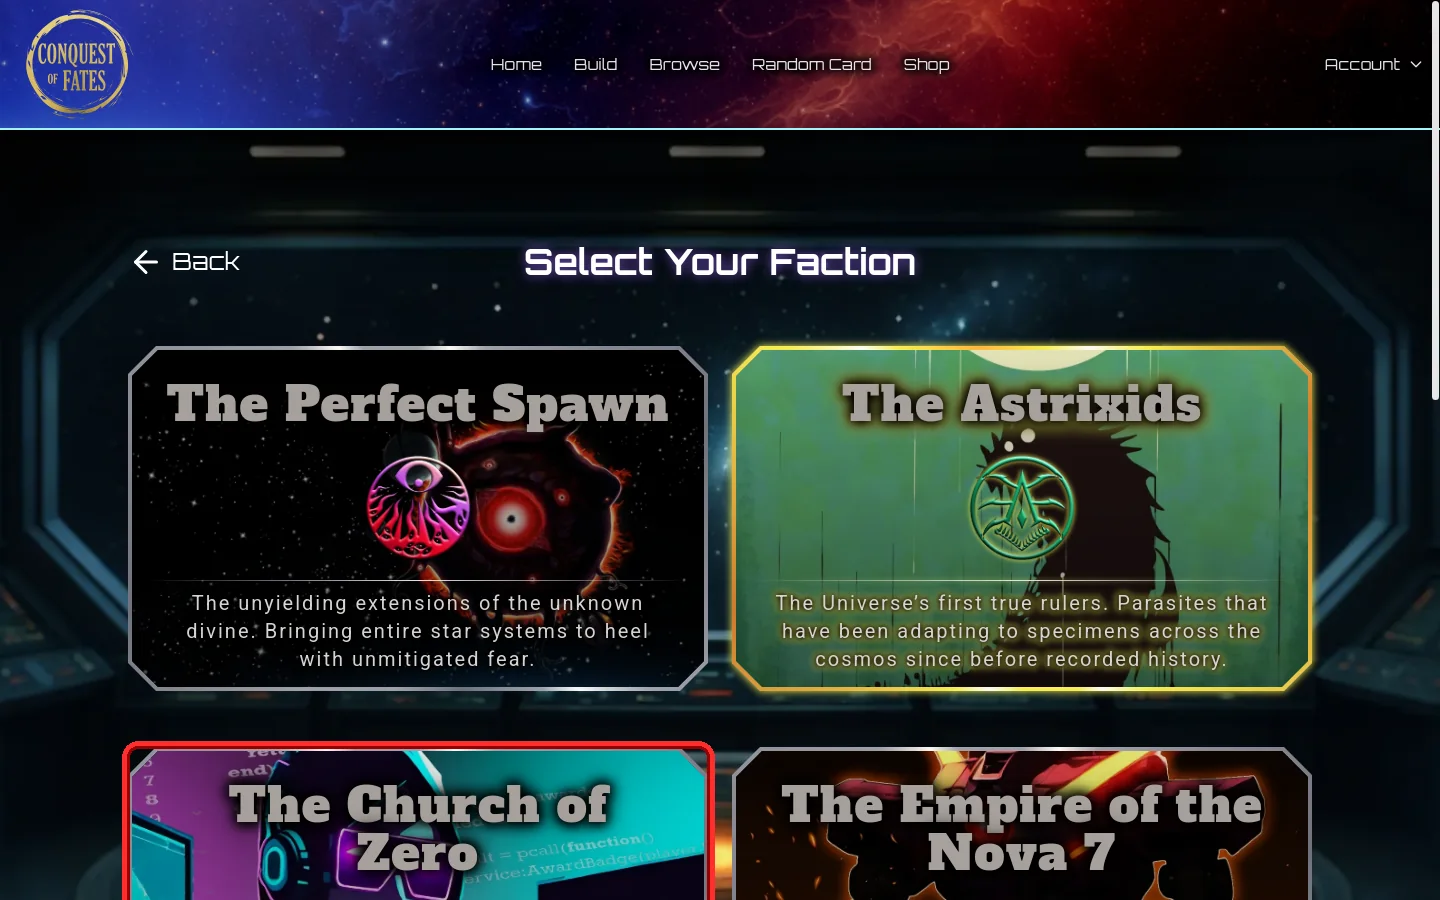
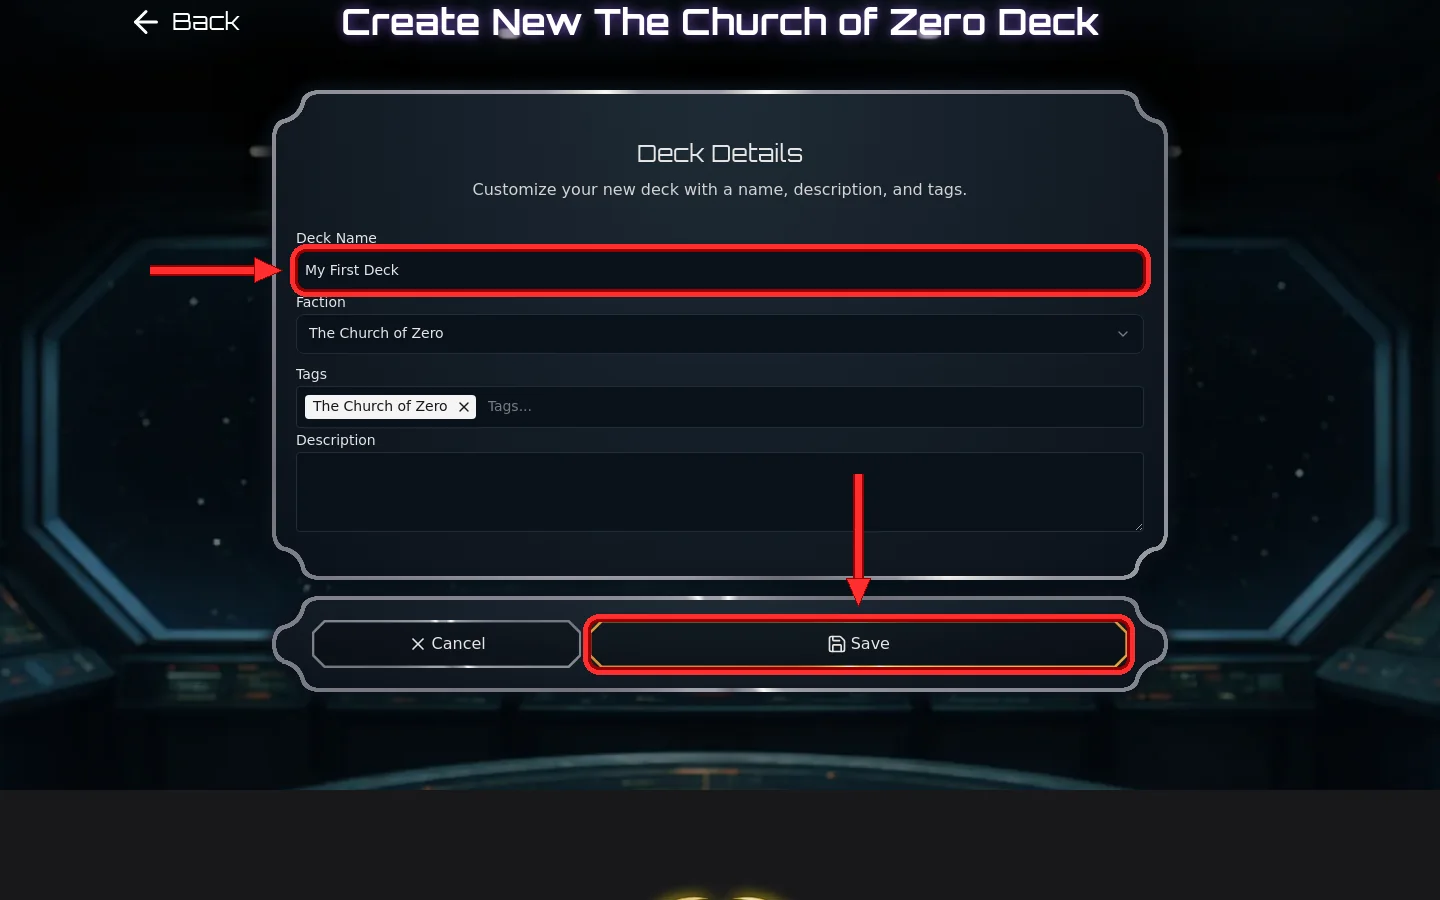
Click New Deck, then Custom Deck, and pick a faction. Decks do not mix factions — except Mercenaries, which are legal in every deck and always appear in your pool.
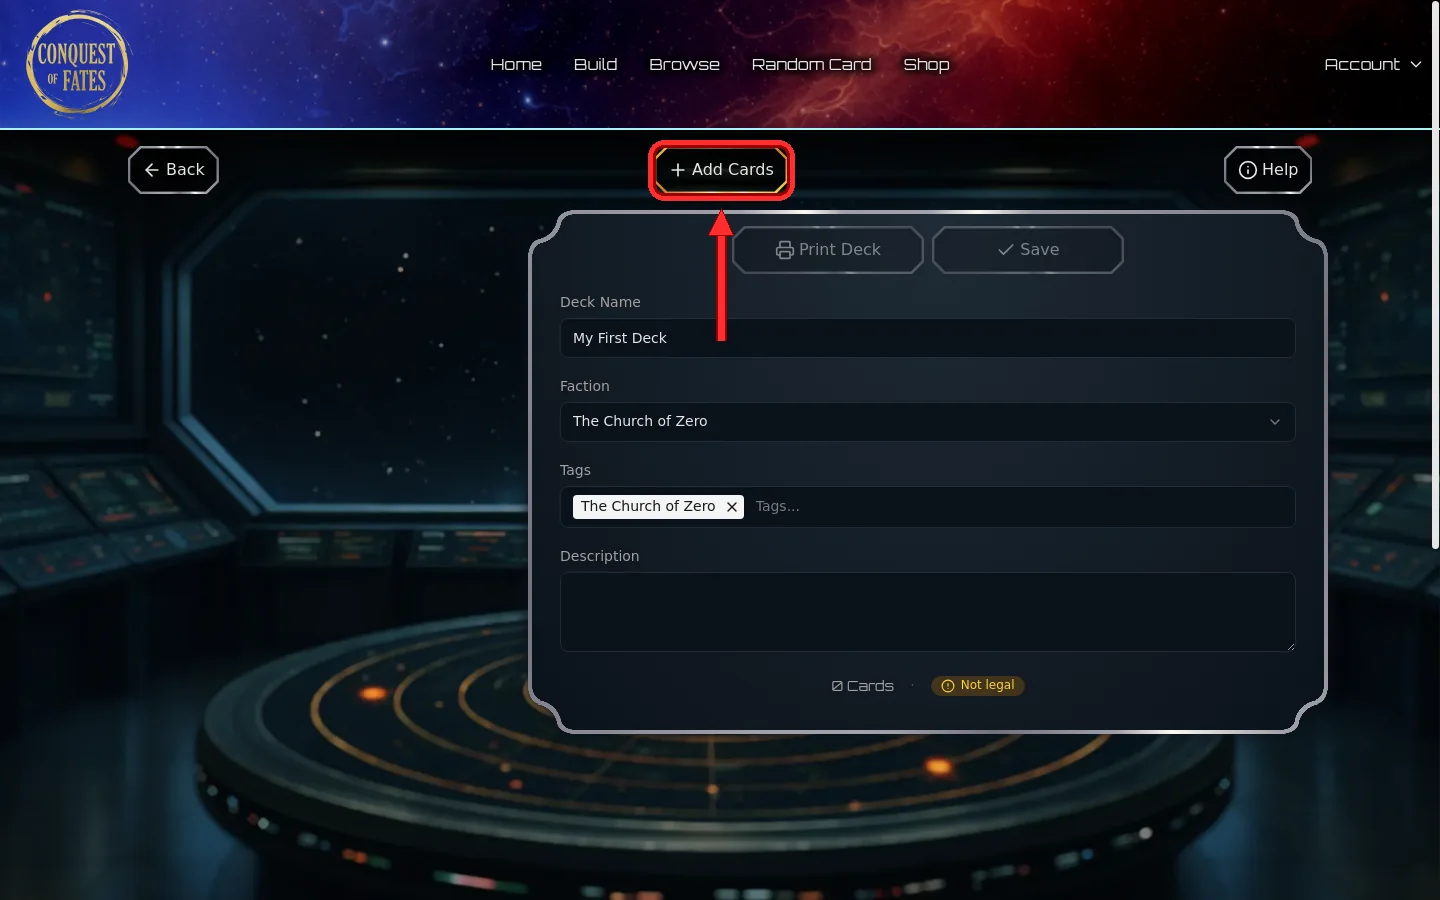
04 Add Cards
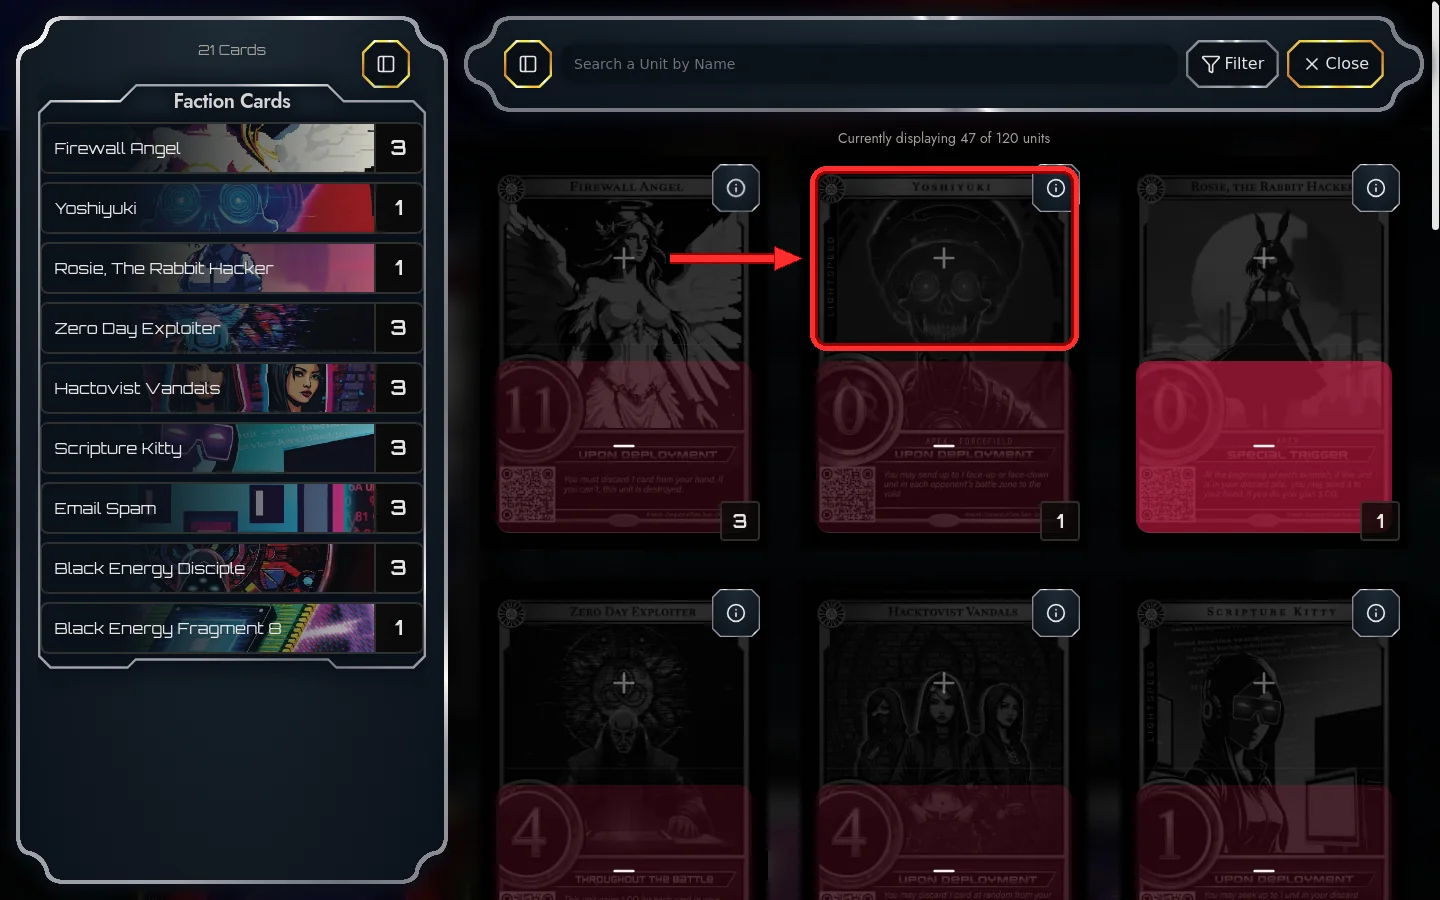
Search by name or use Filter for deployment type, conquest value, attributes, set and rarity.
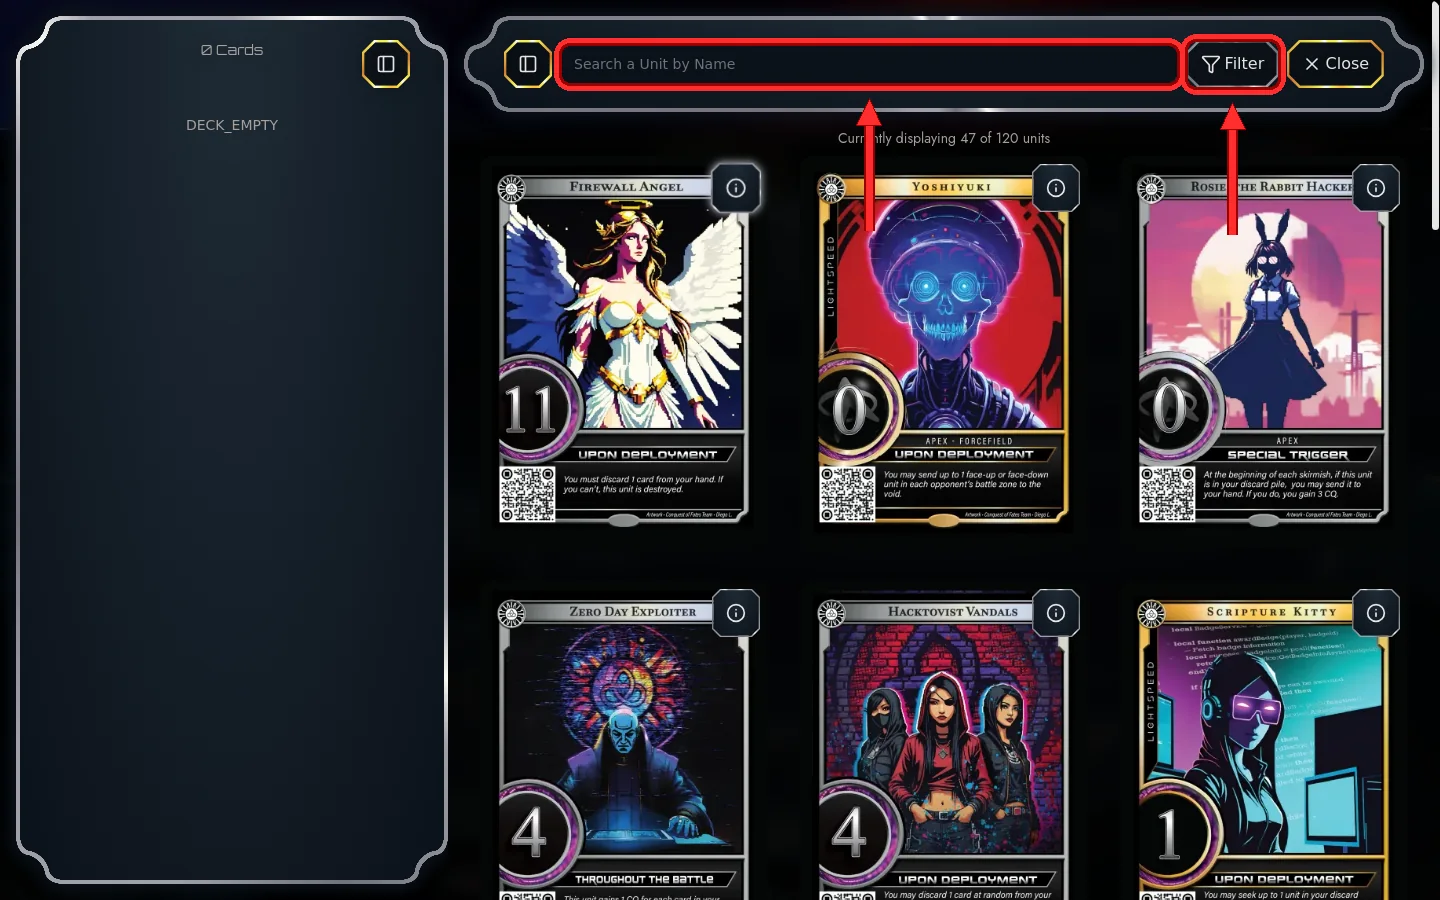
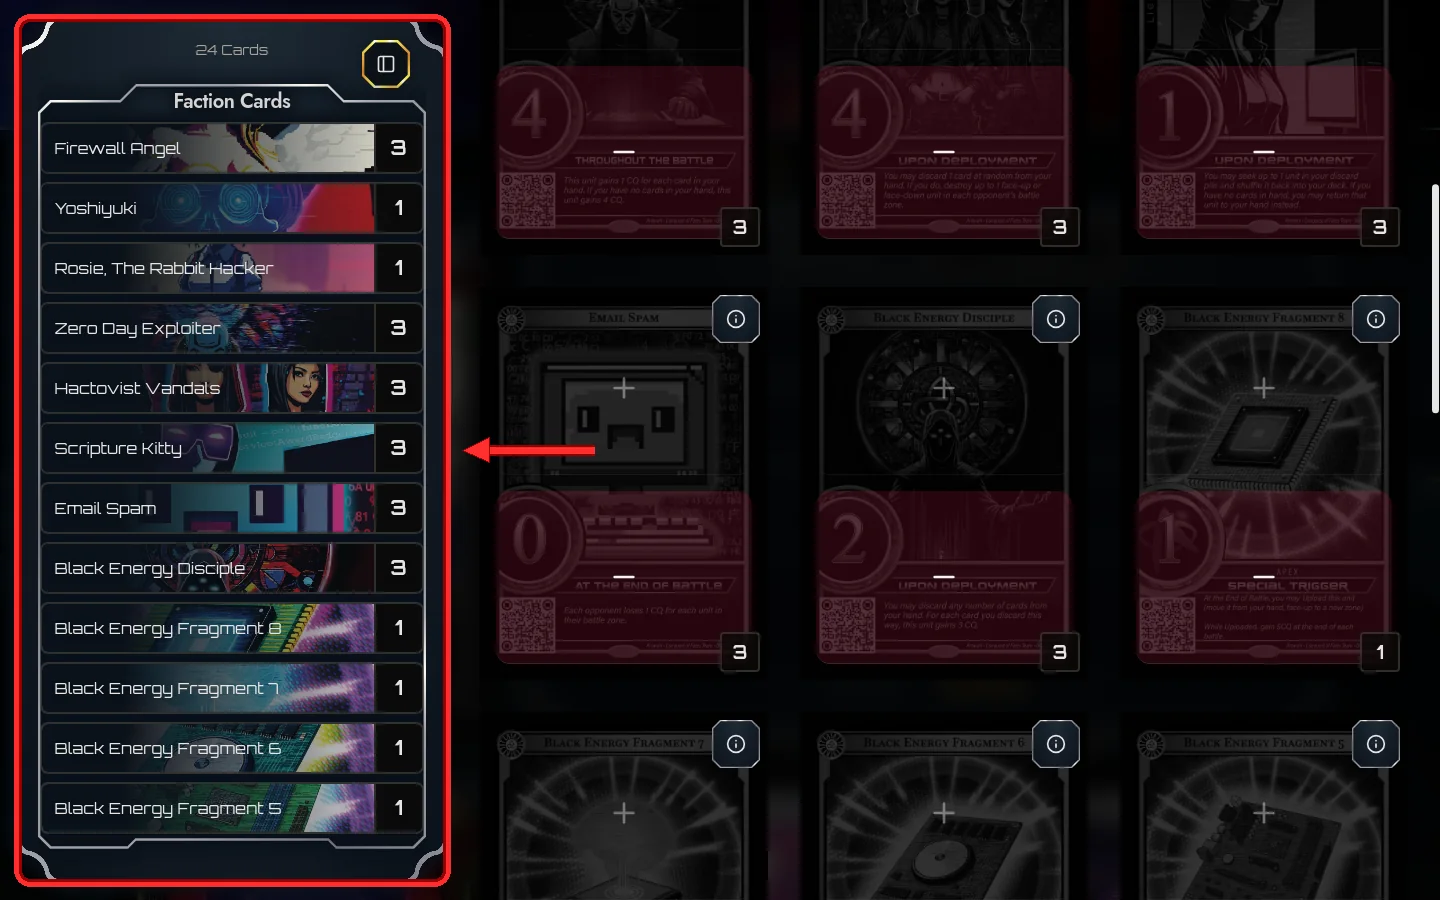
Click a card to add a copy; + and − adjust the count. The builder enforces the limits for you — three copies of most cards, one of any Apex or Celestial.
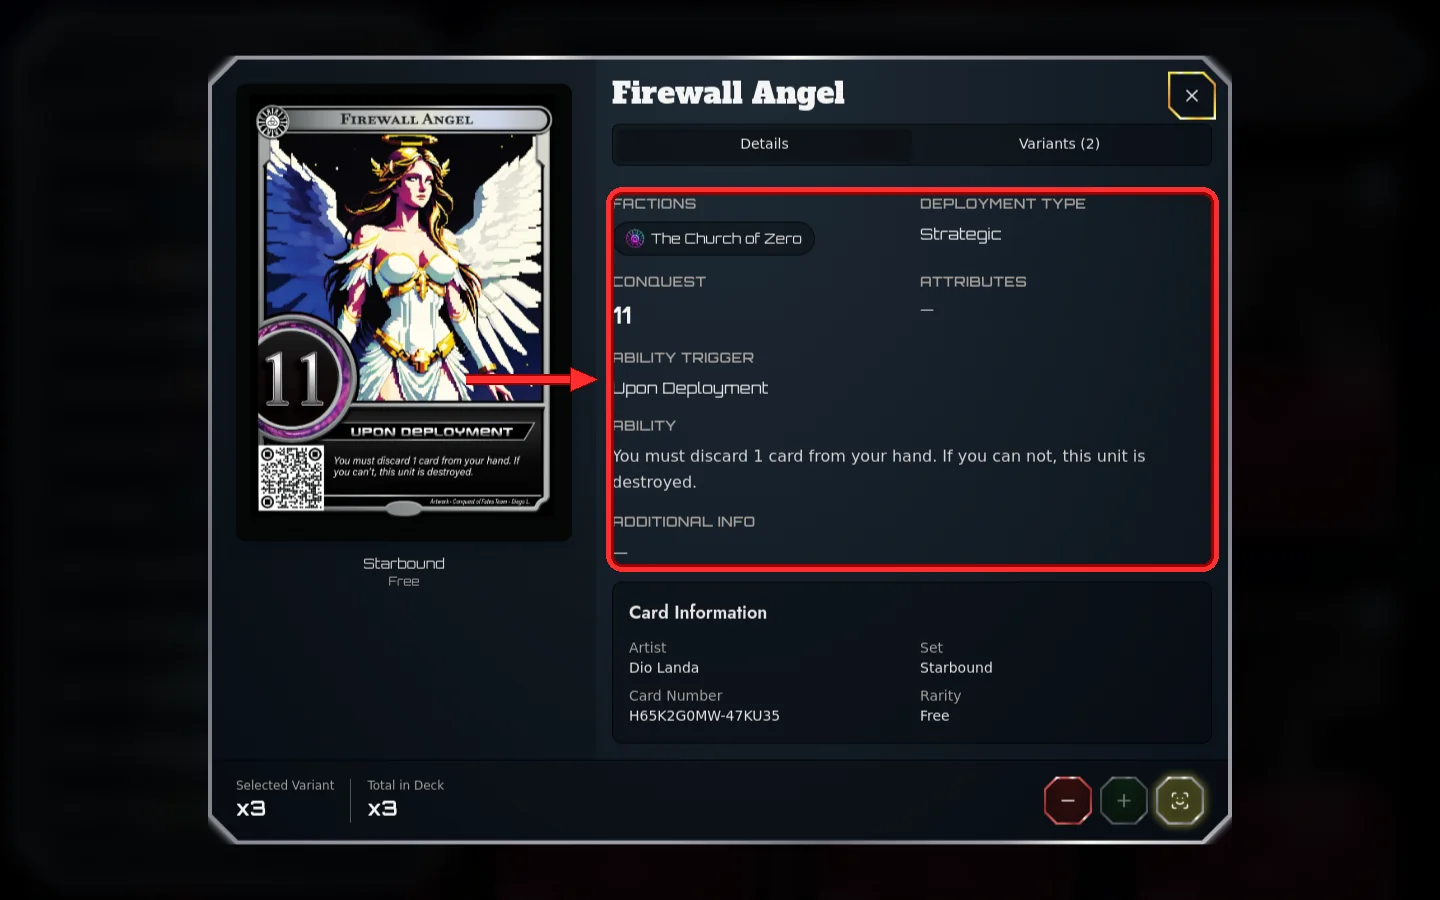
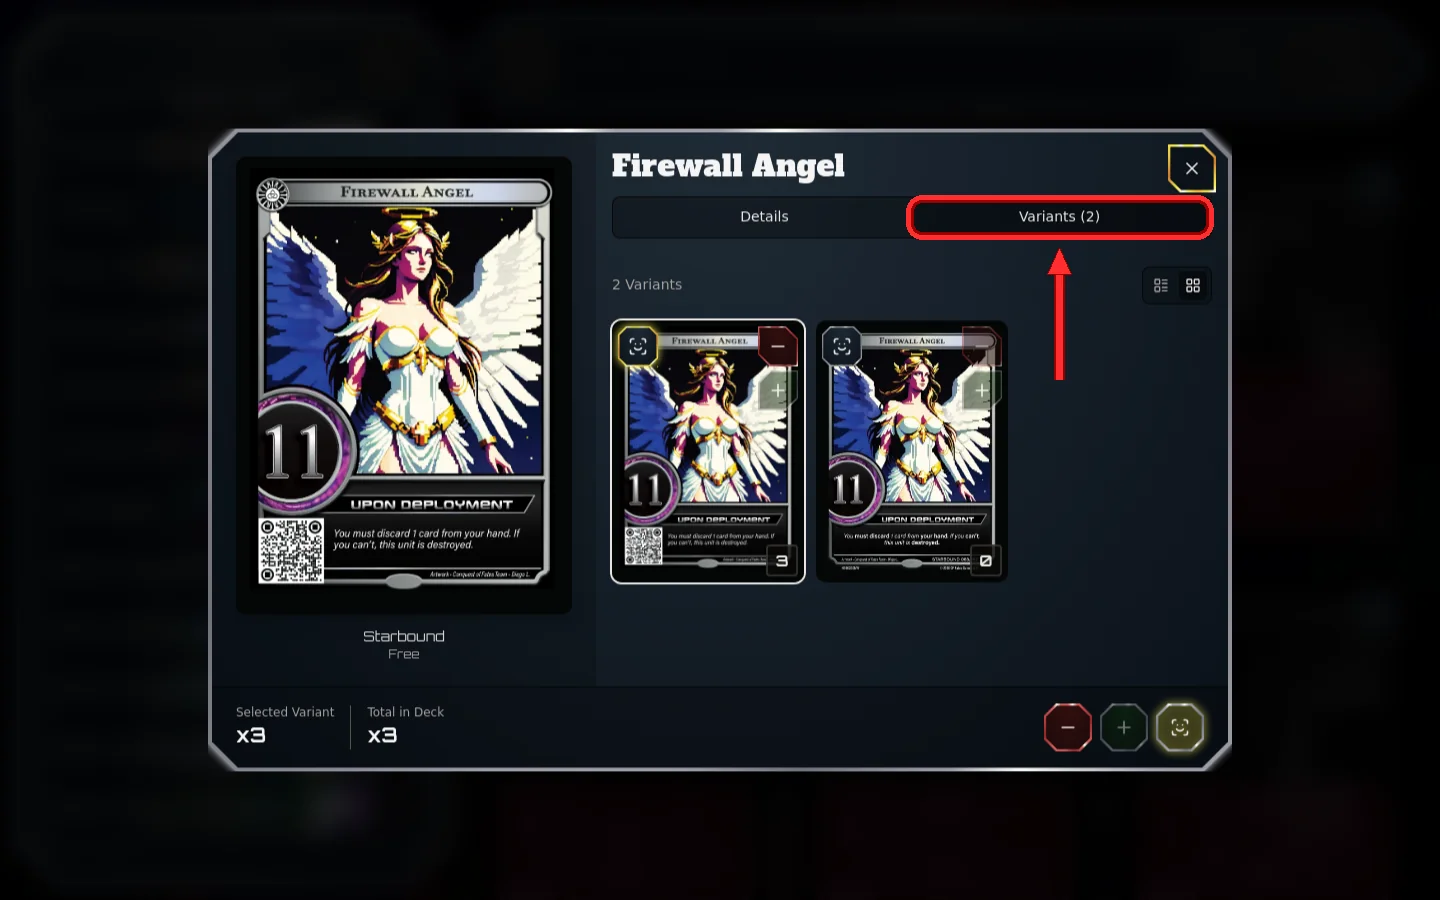
The i button opens full details — conquest, attributes, ability text, artist and set. The Variants tab swaps to a different printing: new art, same card, no gameplay change.
05 Edit a Deck
Any deck in your library — built, cloned or imported — opens the same way: click Edit.
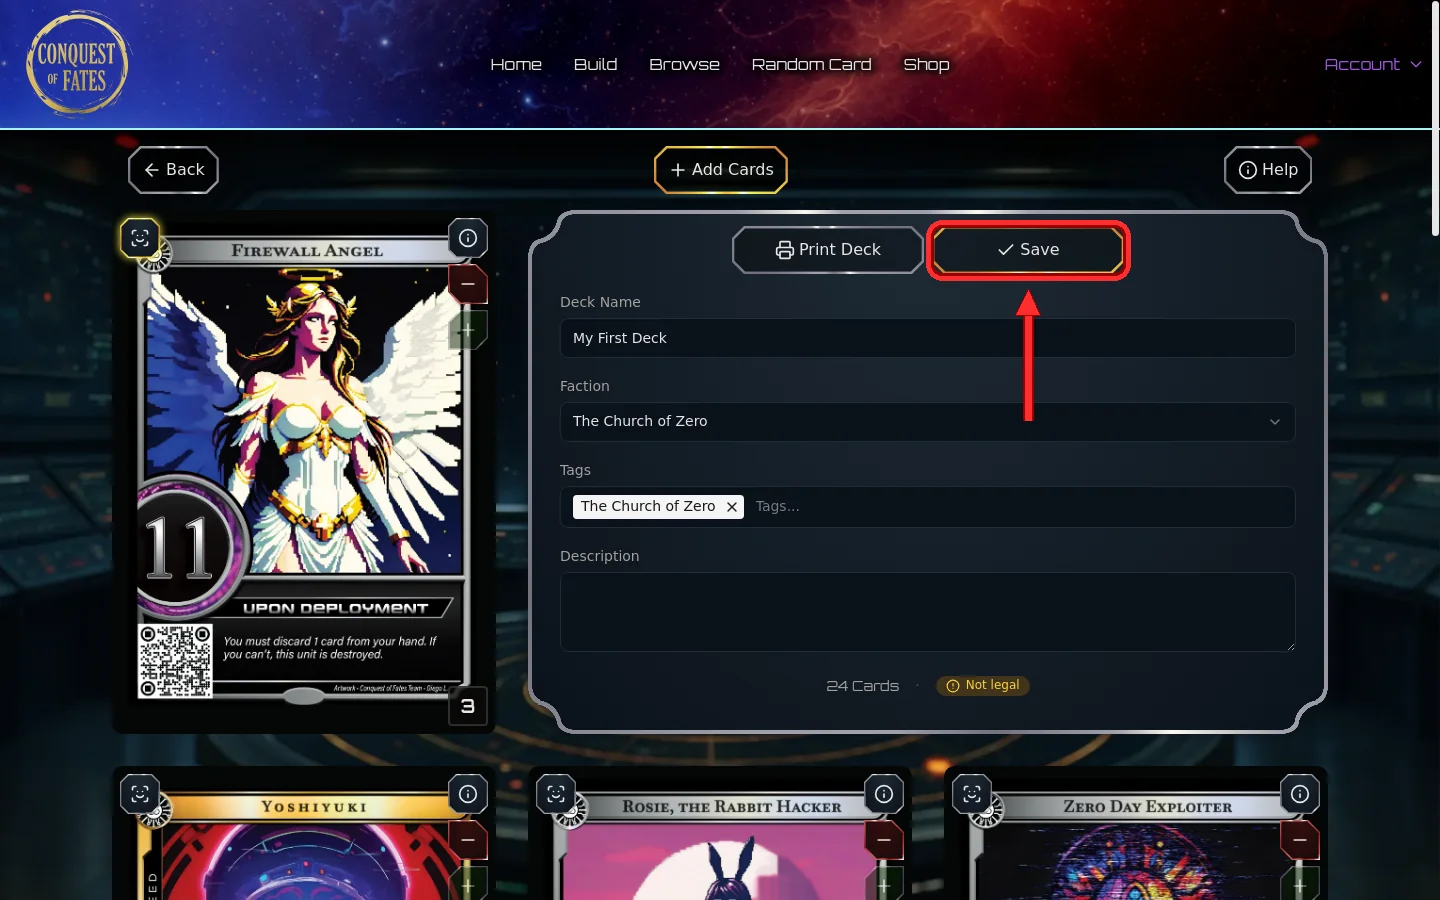
Saving removes any card you dropped to zero. Clone the deck first if you are about to try a big rebuild.
06 Print a Deck
This is what makes Conquest of Fates free to play: any deck you build, you can print.
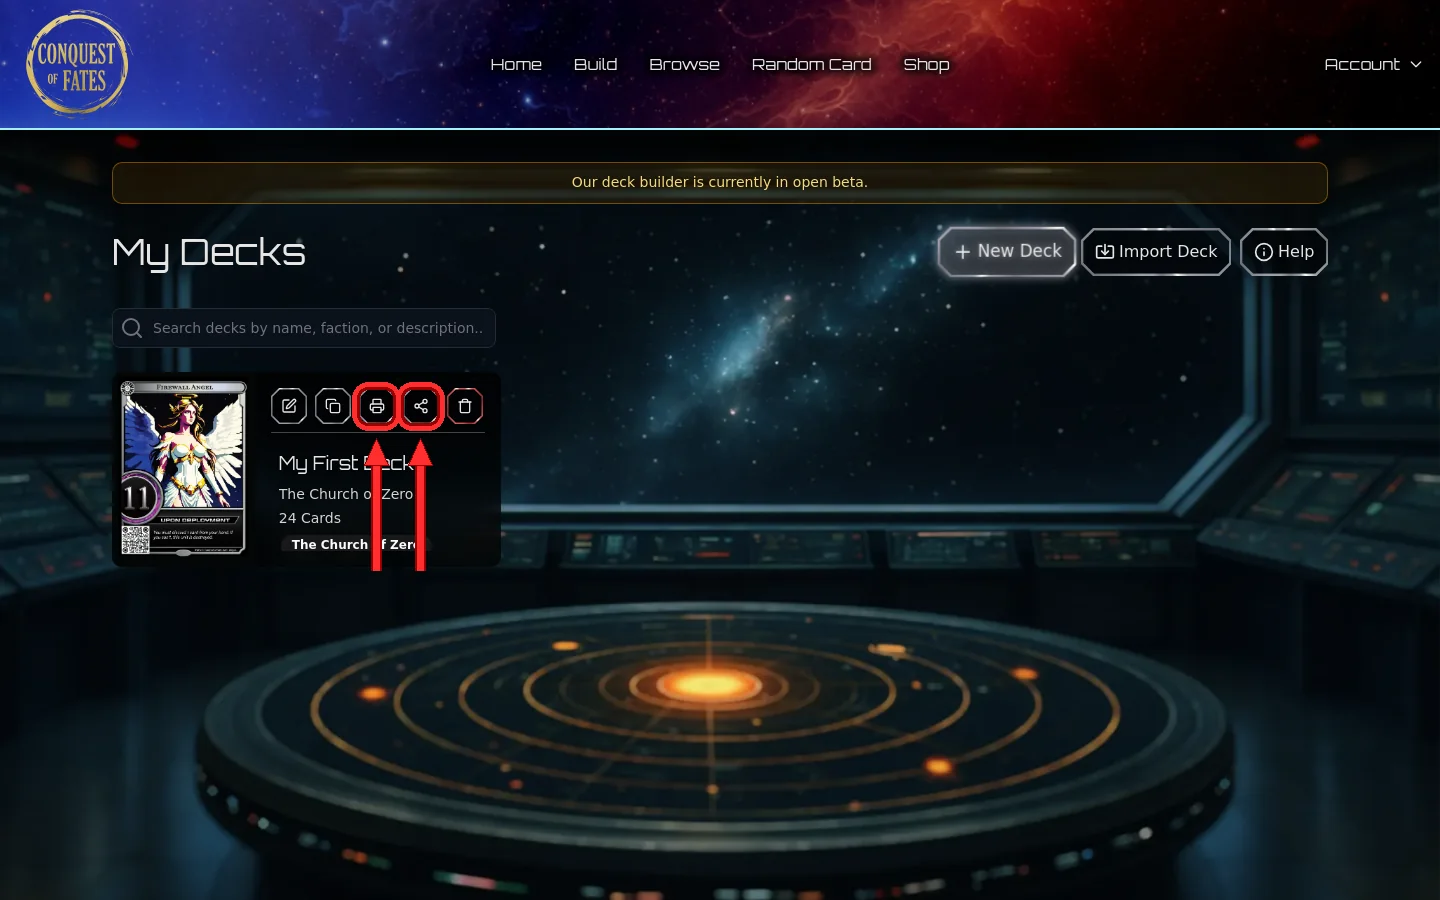
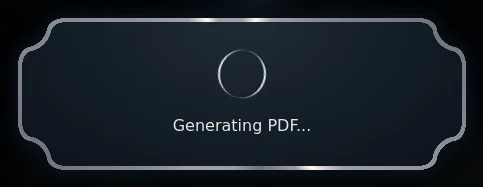
Click Print on the deck, wait a few seconds while the PDF generates, and your browser downloads it.
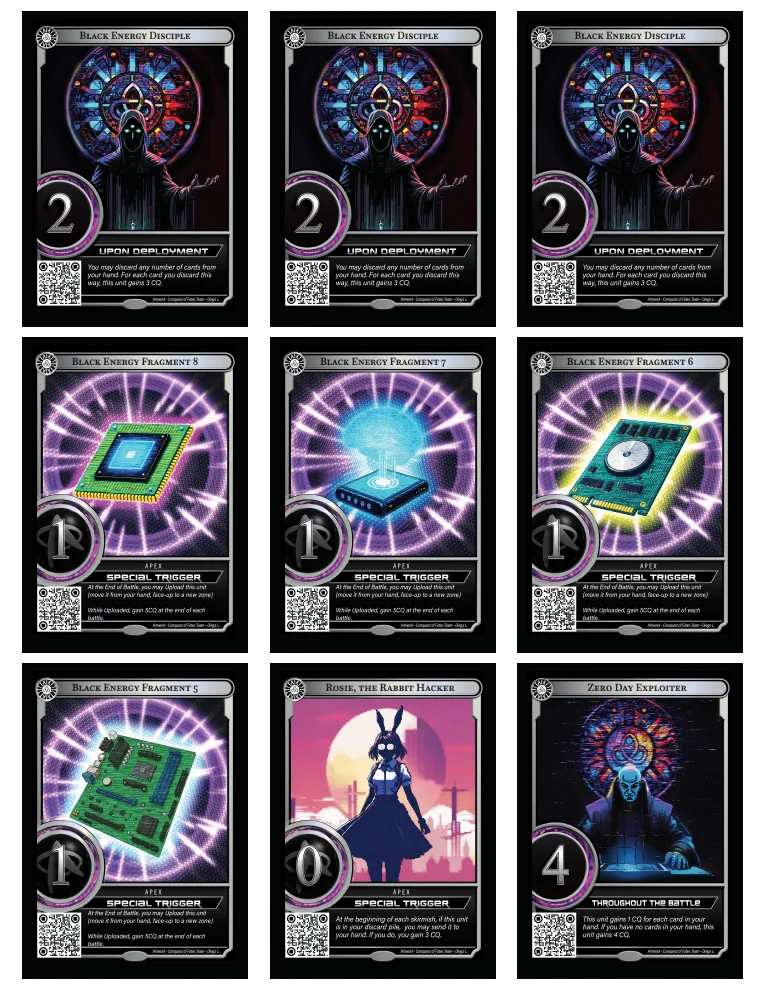
Print at 100% scale. “Fit to page” shrinks the cards and they will no longer match a real one. See the proxy guidelines for printing well and what is tournament-legal.
07 Share a Deck
Click Share for three ways to hand a deck to someone.
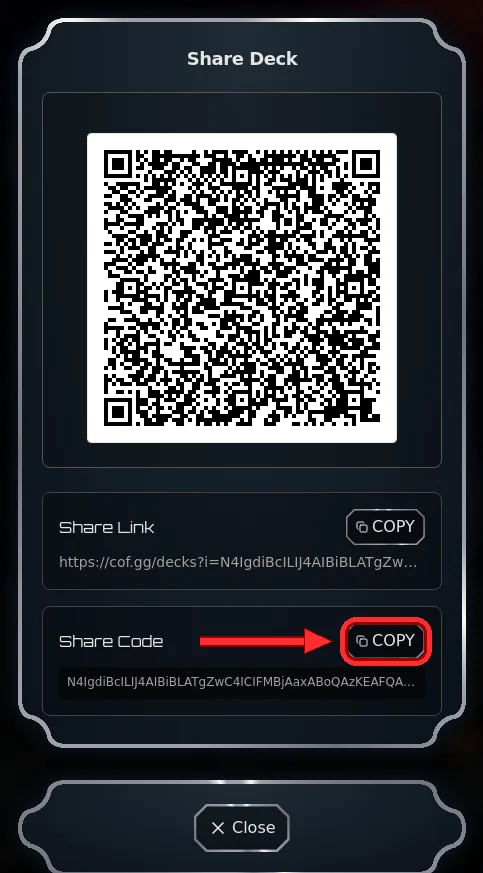
- QR code — point a phone at it. Handy across a table.
- Share Link — a normal URL. Opening it loads the deck ready to import. Paste this into Discord.
- Share Code — the deck as plain text, no address around it. Use it when pasting the deck into something, above all Tabletop Simulator.
The deck lives inside the code. Nothing is stored server-side and nothing expires — but edit your deck afterwards and the old code still holds the old list. Re-share to update it.
08 Import a Deck
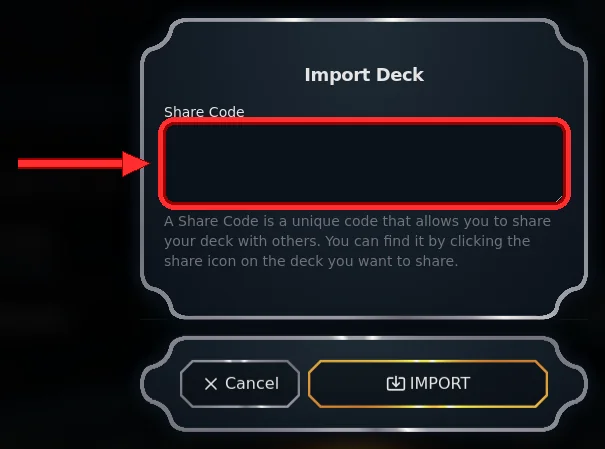
Given a share link, just open it. Given a bare code, click Import Deck in your library.
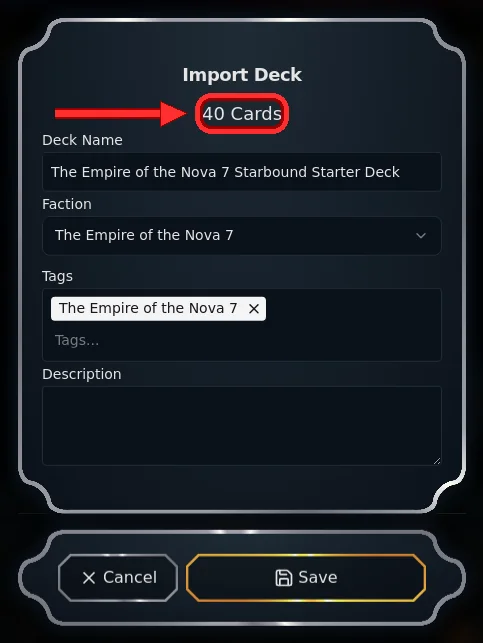
From then on it is an ordinary deck of yours: edit, clone, print, re-share.